Saturday, August 27, 2011

Sound Isolation And Your Studio


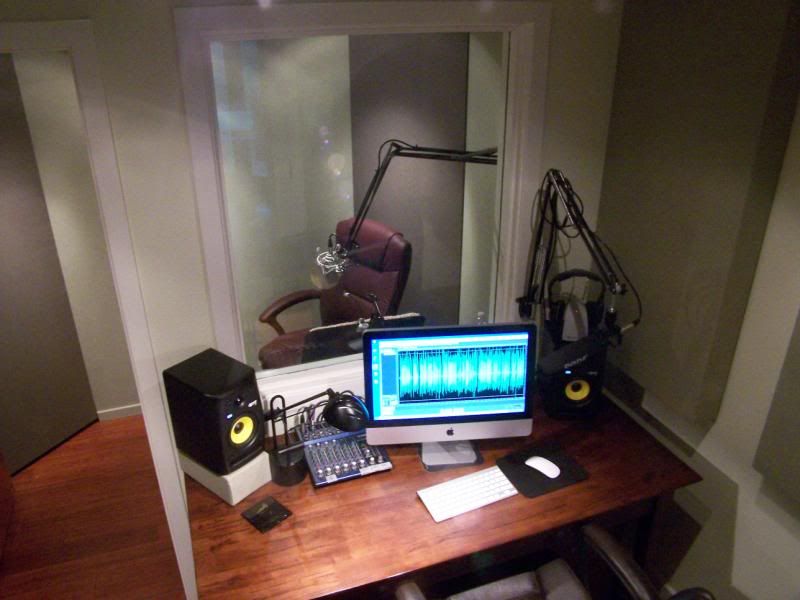
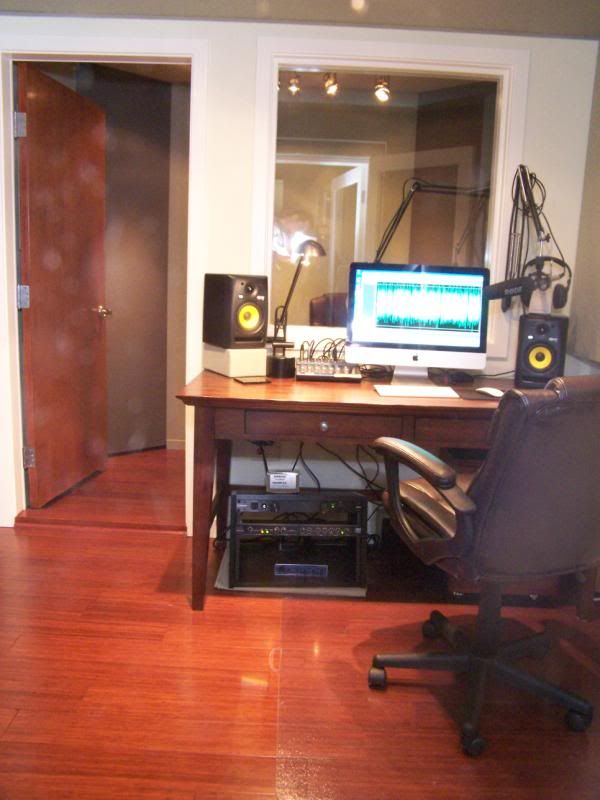
Before the ease and convenience of "at home" digital recording came along, there were professional studios.  A great deal of money went into the gear for those studios- the microphones, mixers, preamps, recorders and processors of all types- these were the obvious expenditures.  

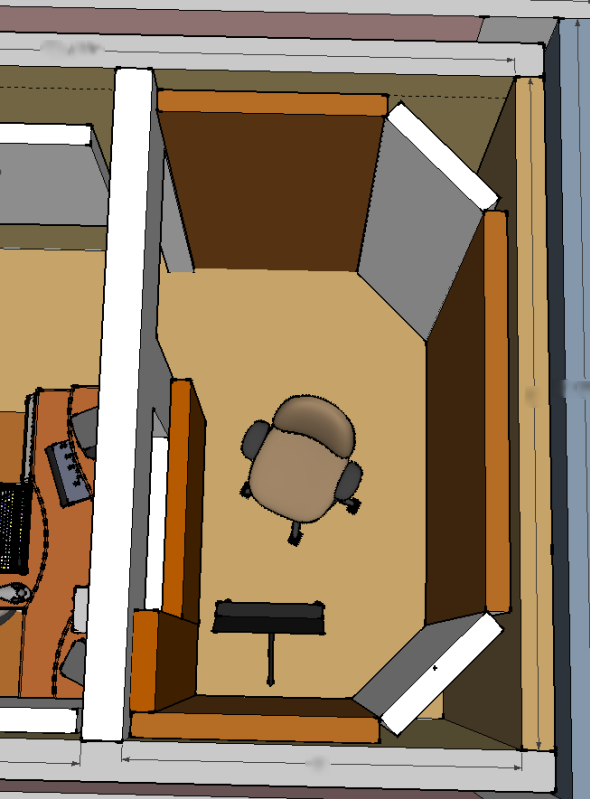
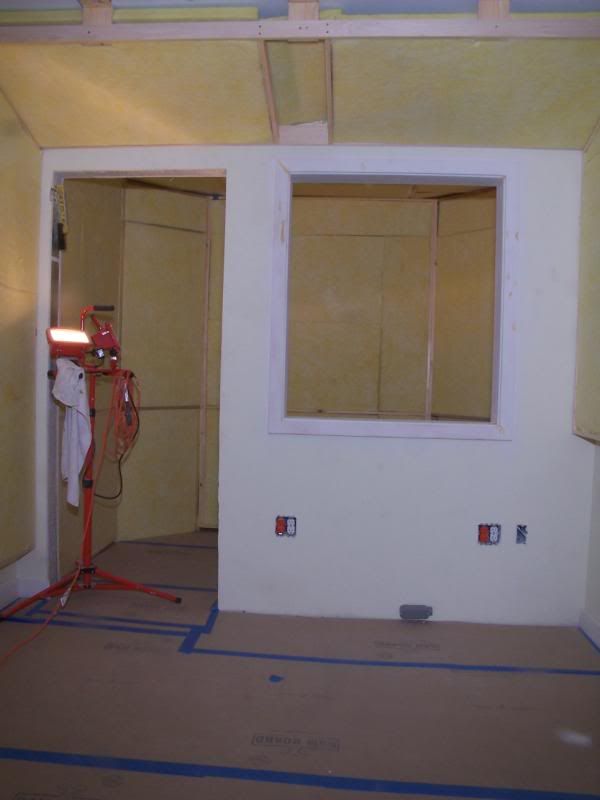
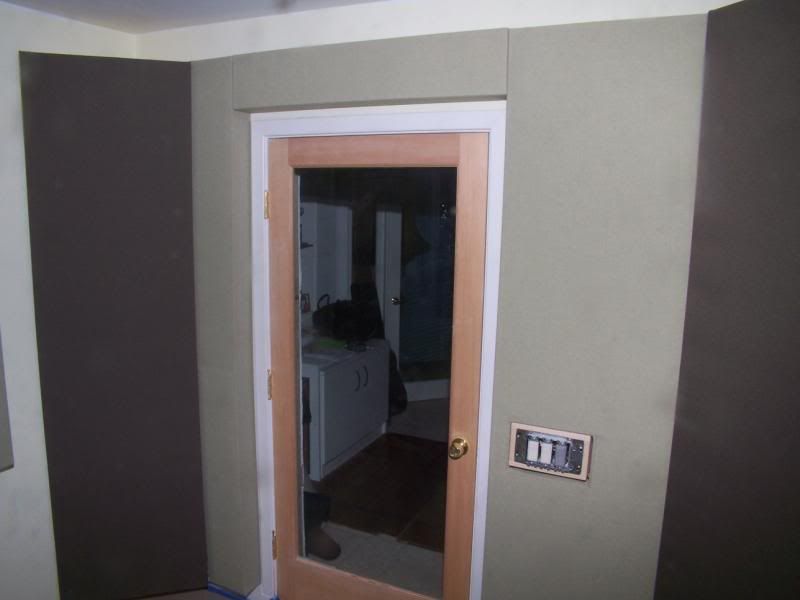
What was not so obvious, is the amount of money and effort that went into the recording space itself.   The space you record in is just as important as the gear you use.  Some may disagree, but it is true- 90% of your audios sound comes from the room you record in. If the the room sounds bad, you will sound bad. If you can hear the noise of the outside world bleeding  into your recording space, you can be sure  your microphone can hear it too, and then some. 

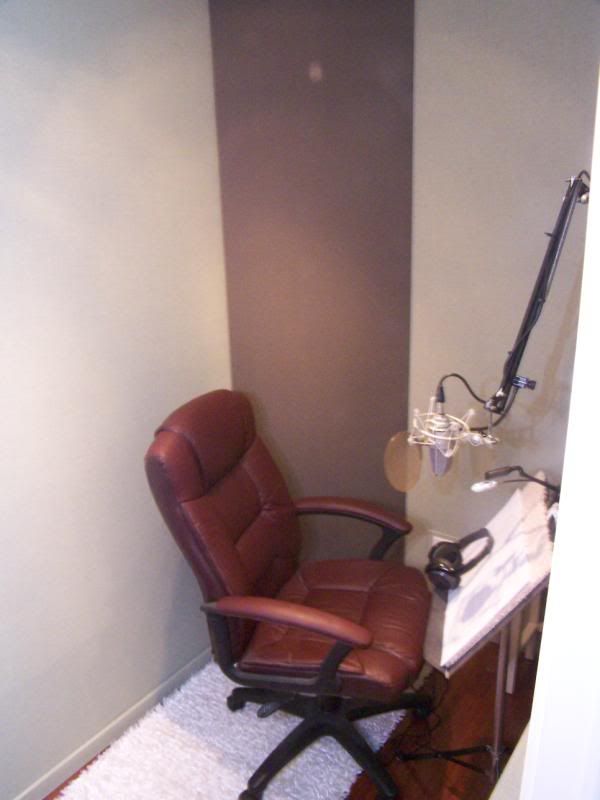
Some microphones like the Sennheiser 416 or Electrovoice  RE20 are not cure-alls. Yes, they do have a wonderful side rejection of sound, but if the noise is filling the room, even these mics will pick it up.  Though they do help, but are just band-aids. 

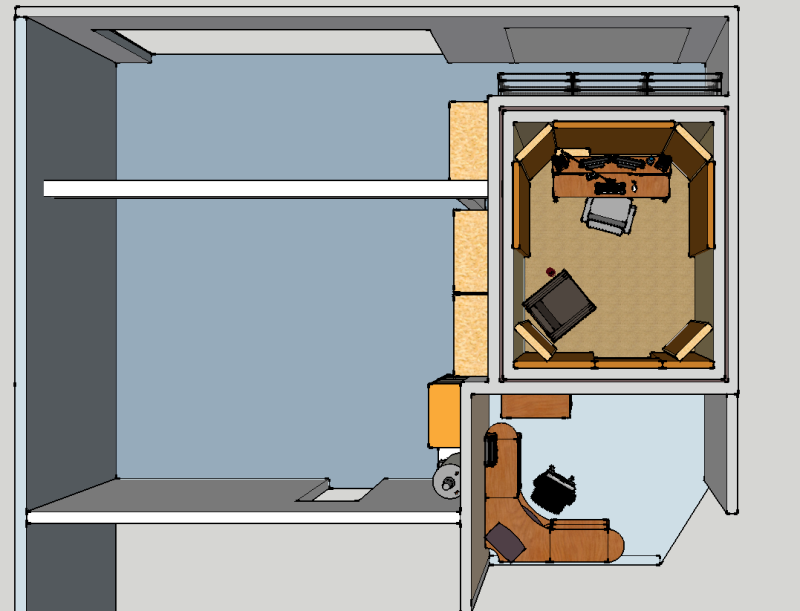
The first thing you need to do is seek out the quietest location in your house.  This is usually a room or area farthest away form the street.   In LA or any big city for that matter, there never seems to be a quiet place to record in. 

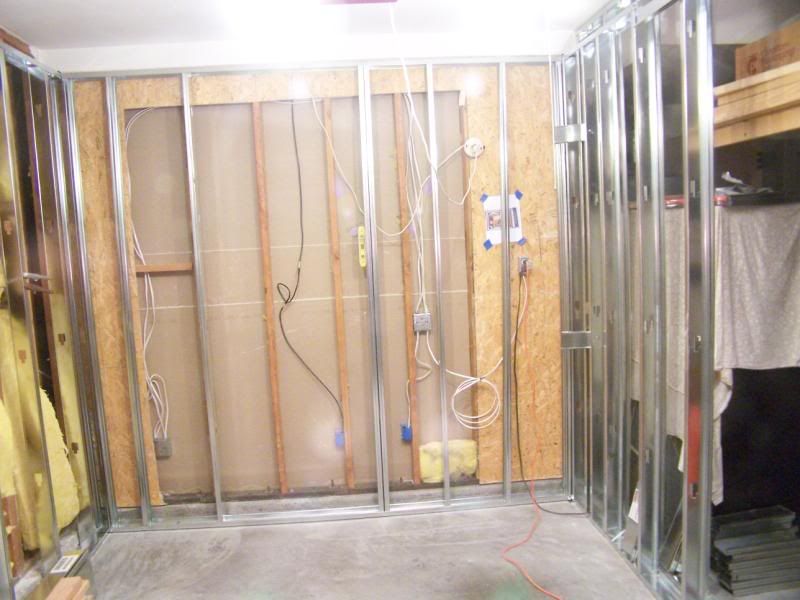
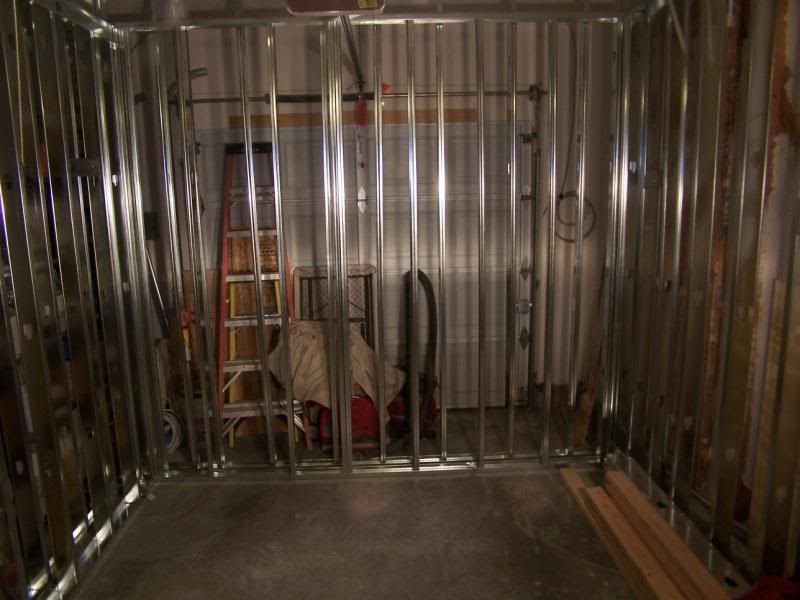
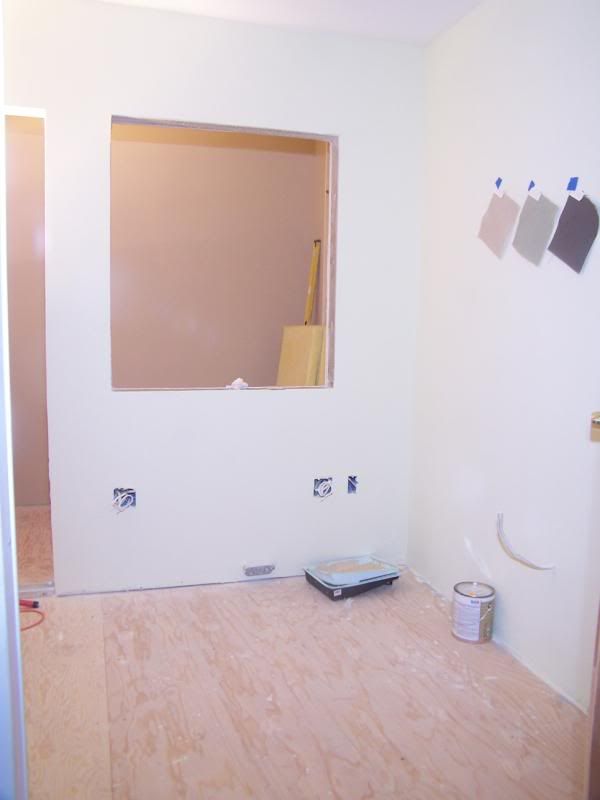
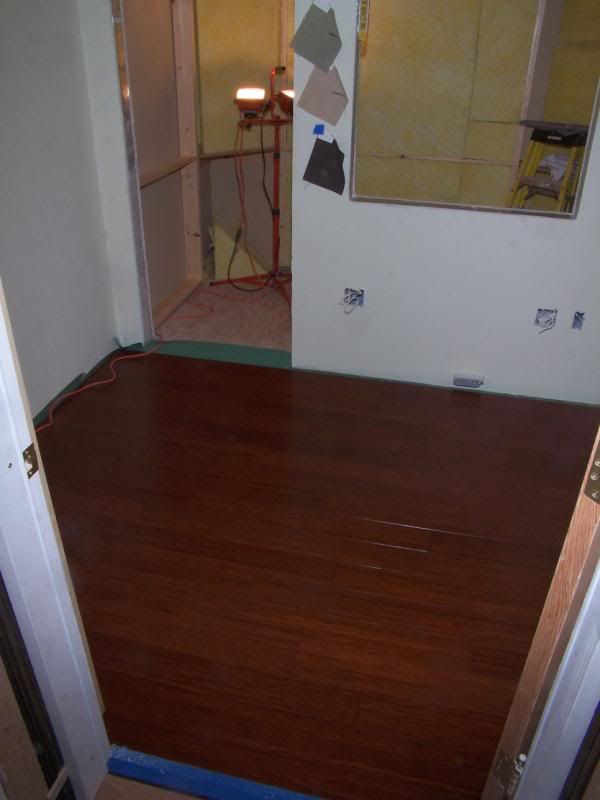
Though less then ideal, closets tend to be in the center of the house. Theses spaces are isolated by the homes other  walls, and thusly helps reduce outside noise.  

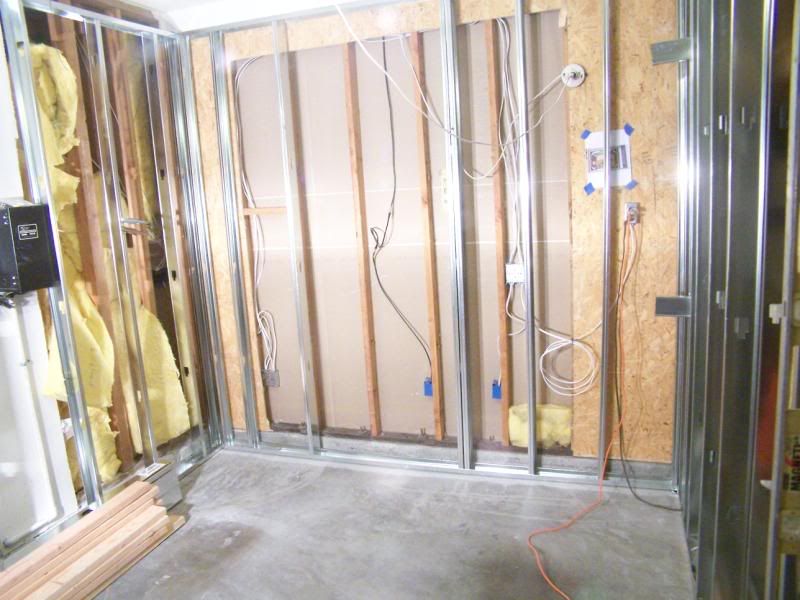
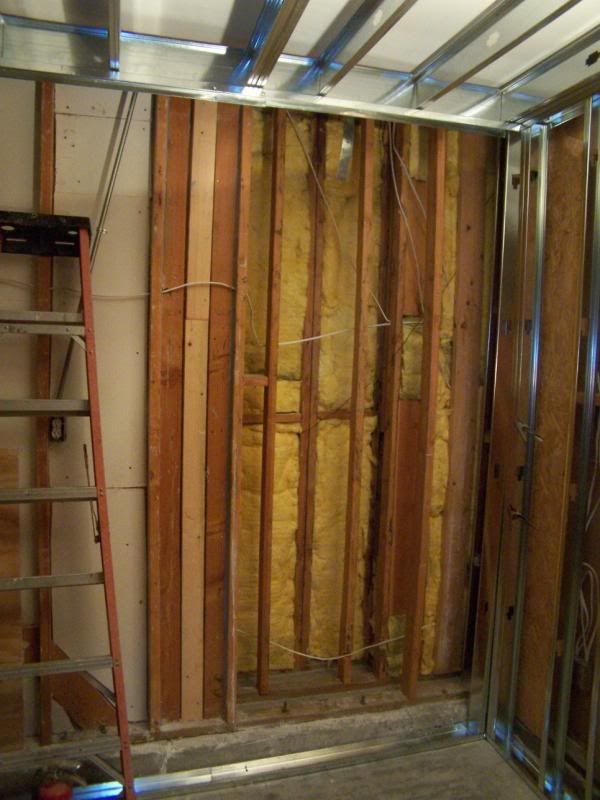
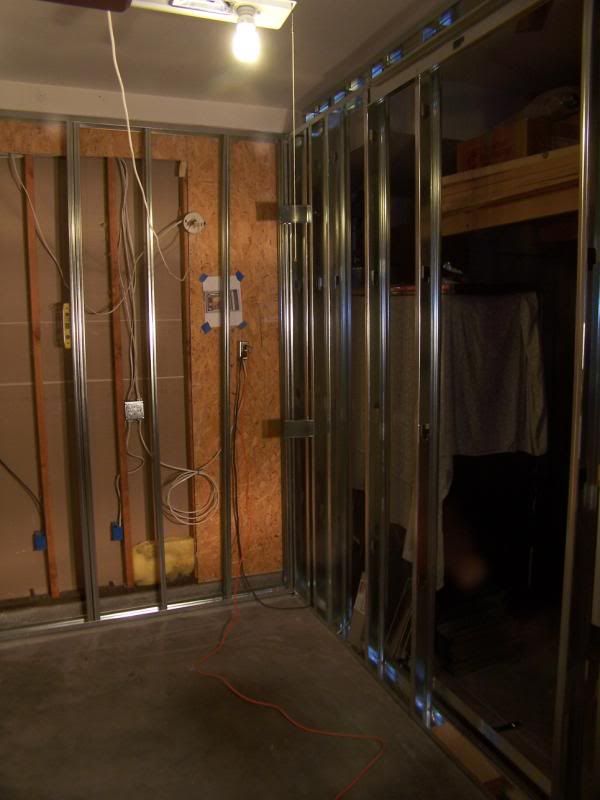
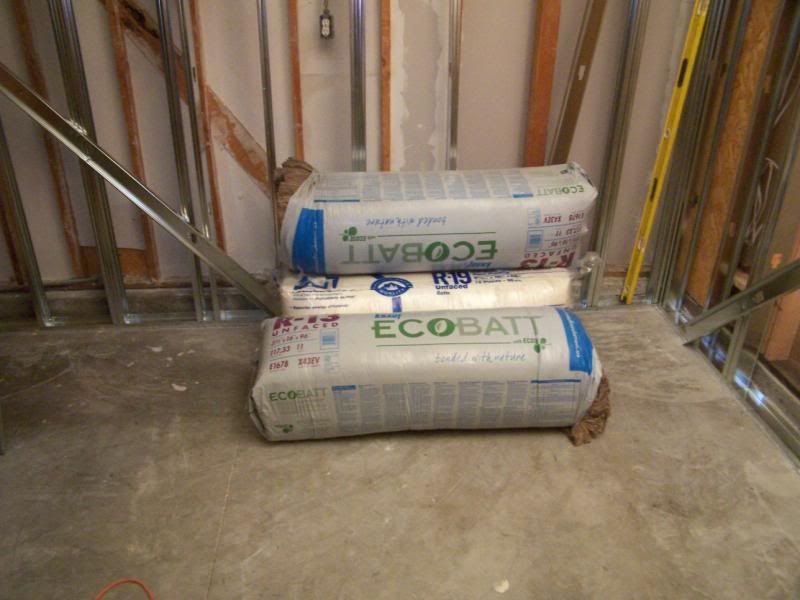
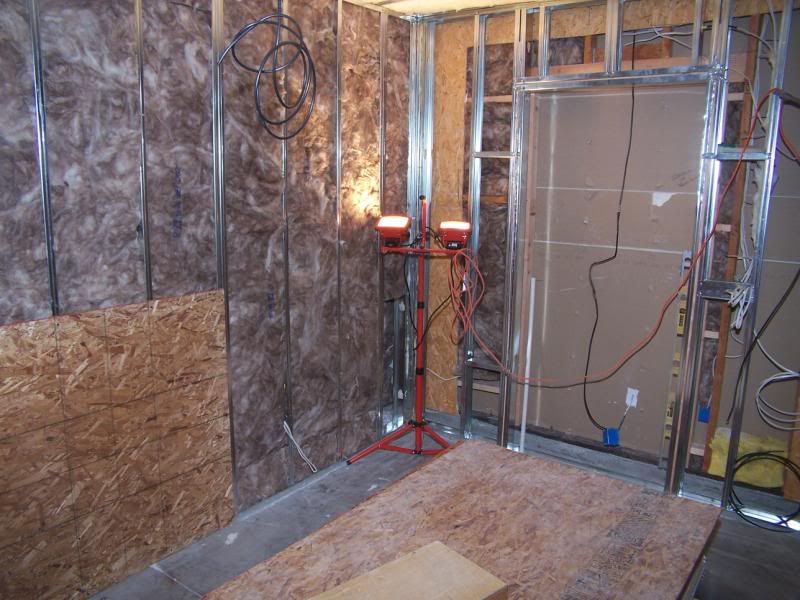
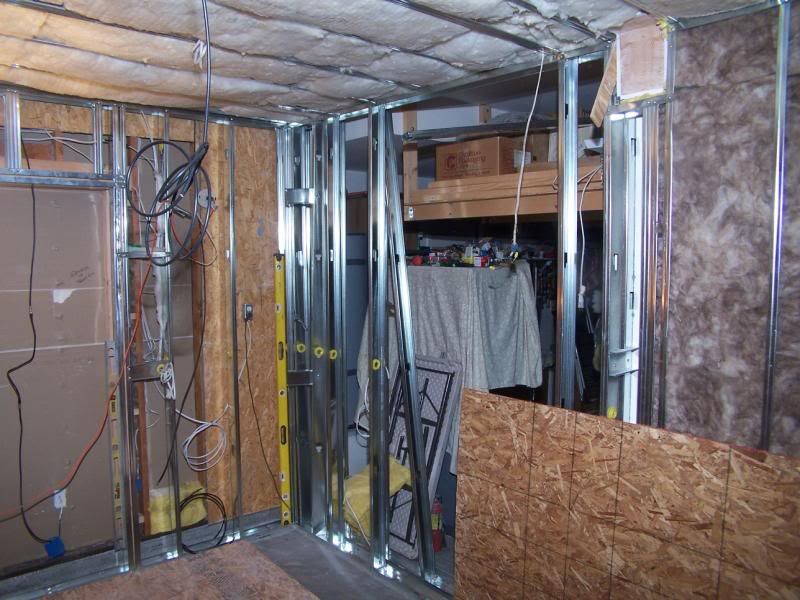
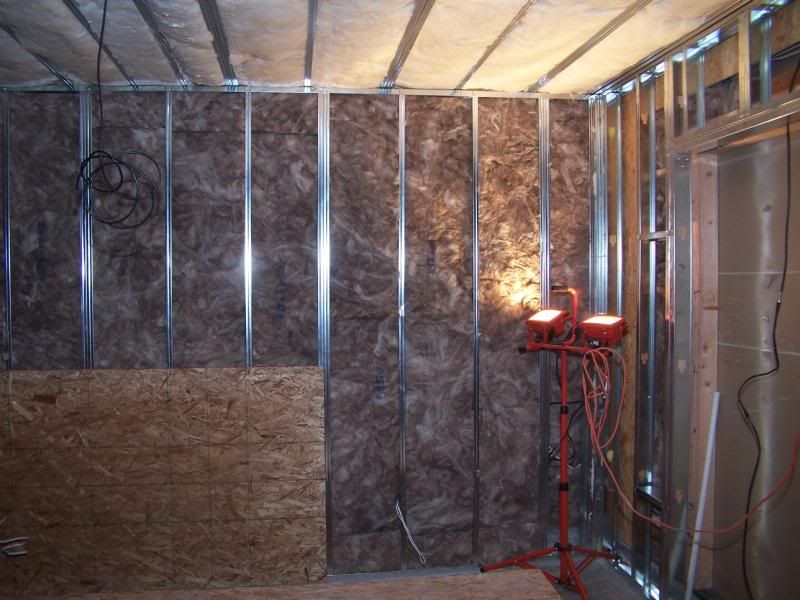
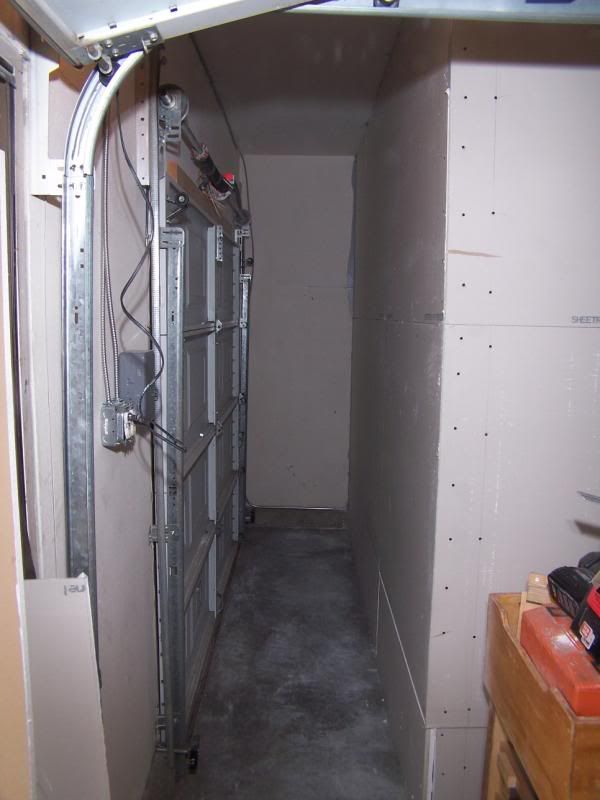
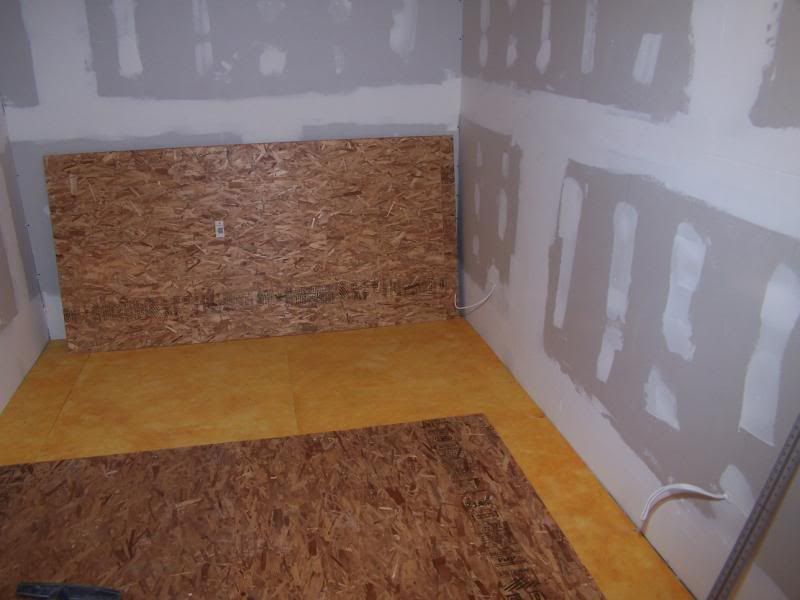
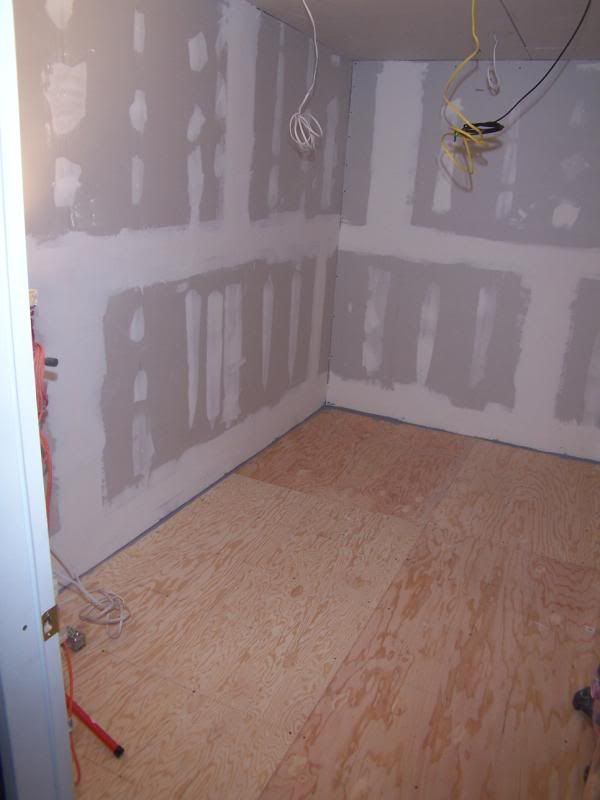
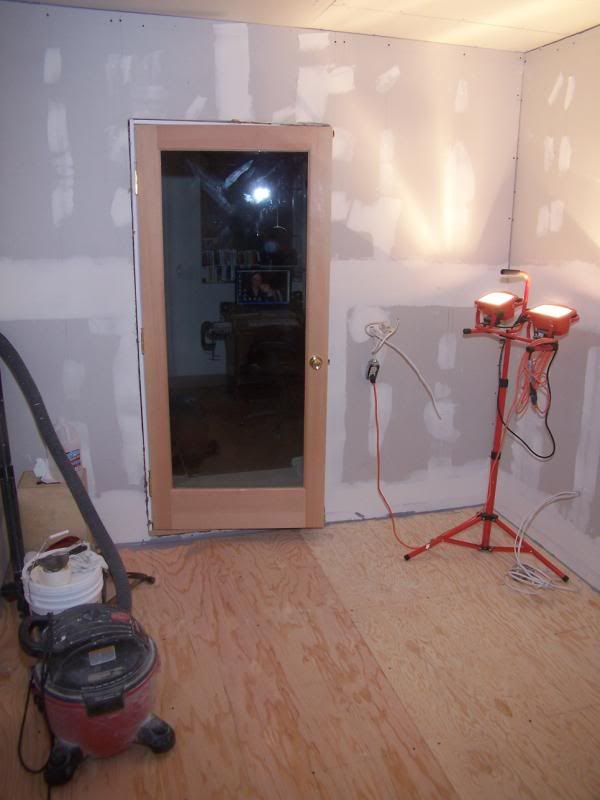
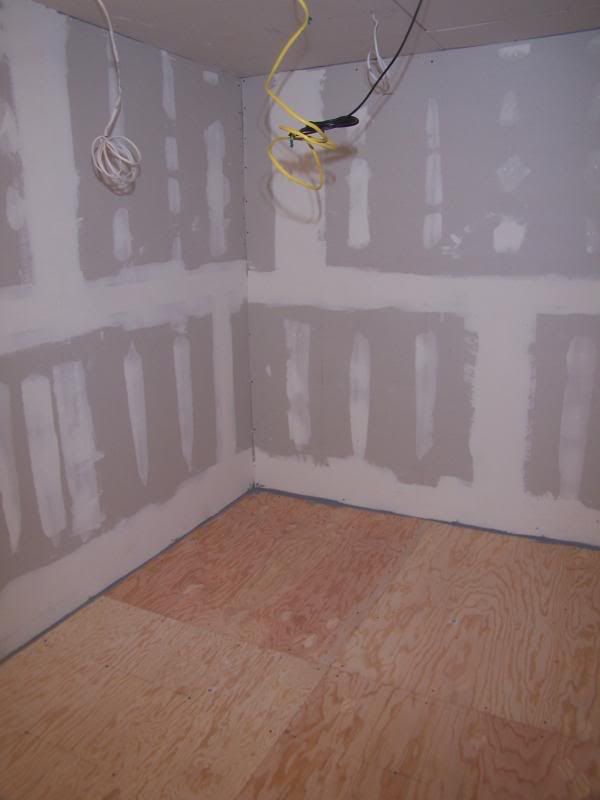
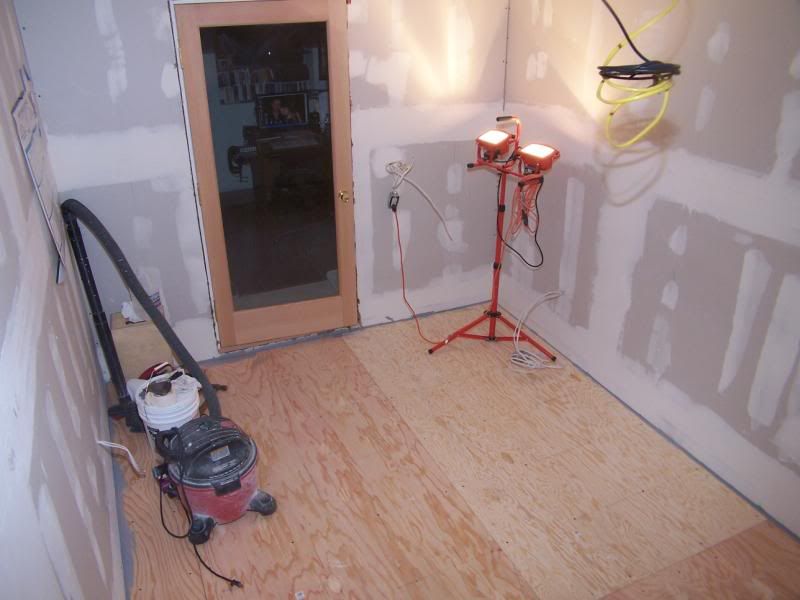
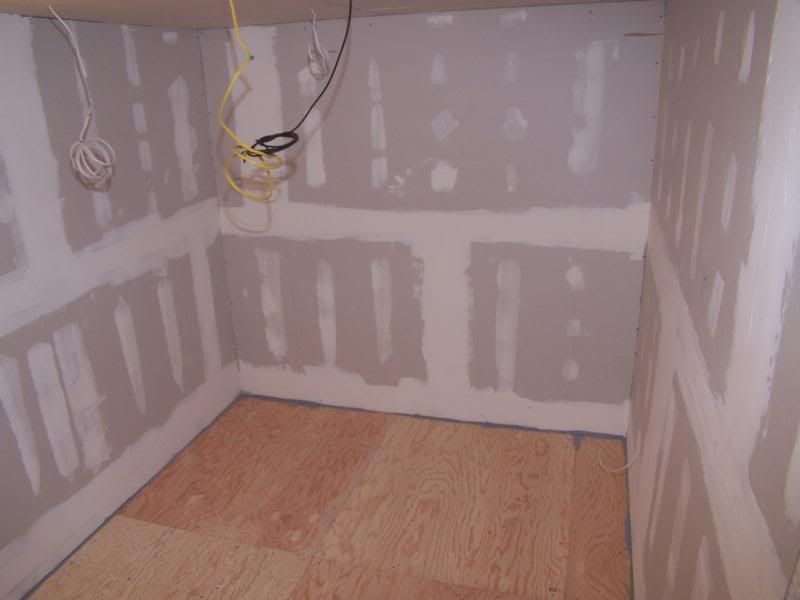
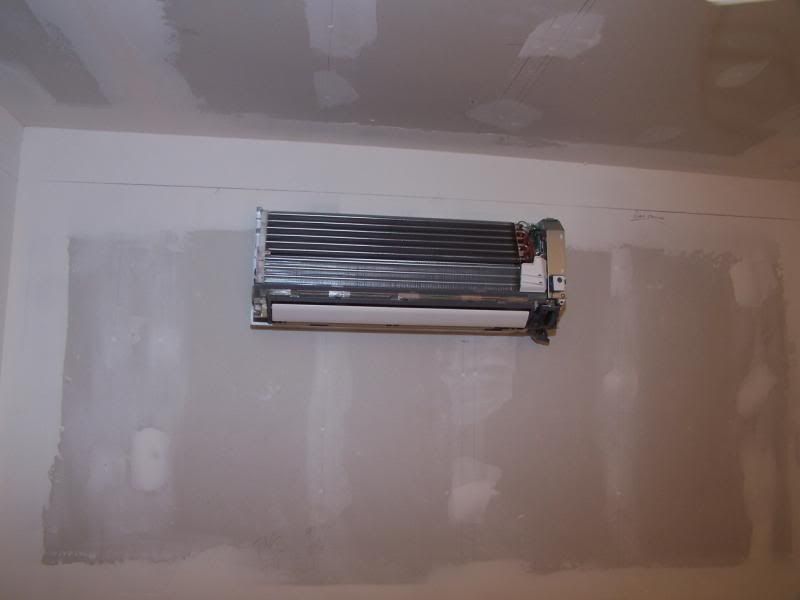
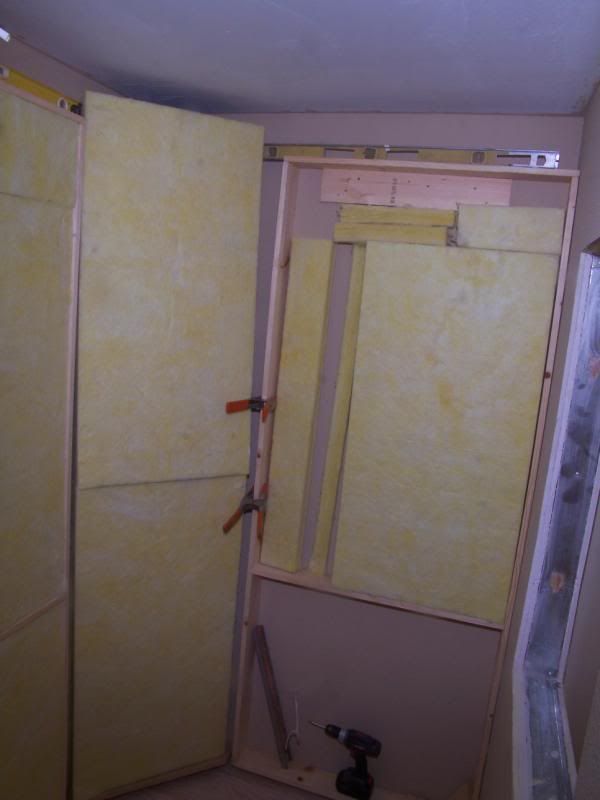
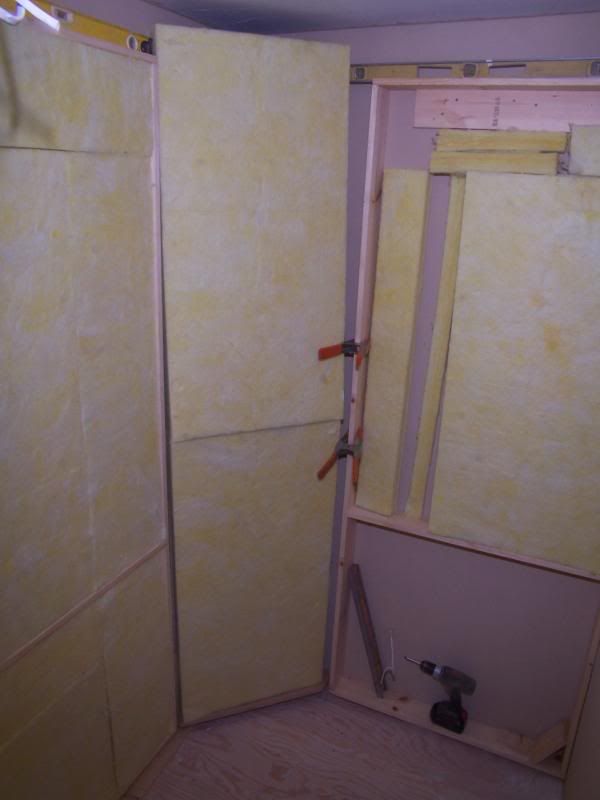
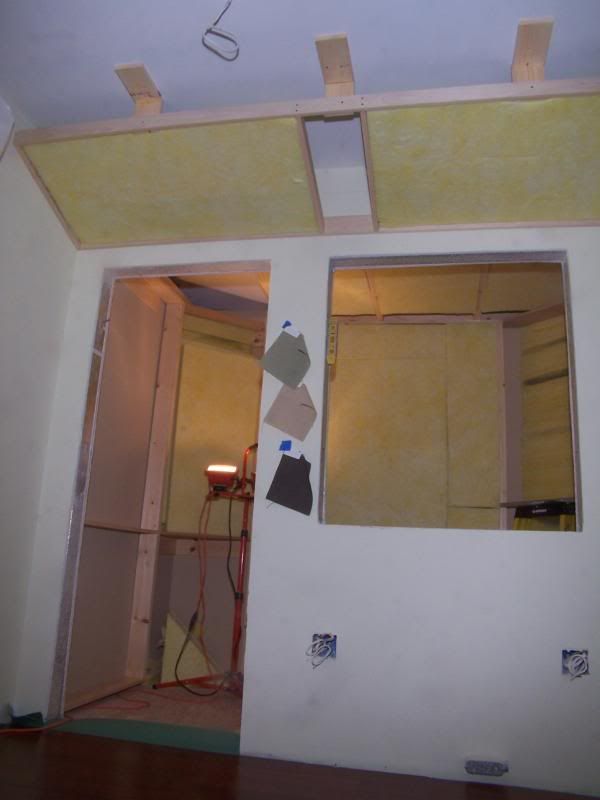
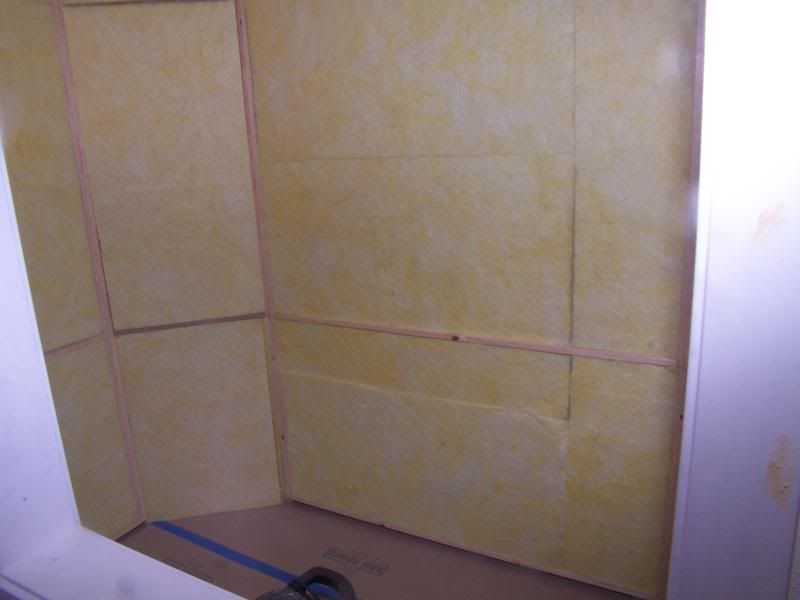
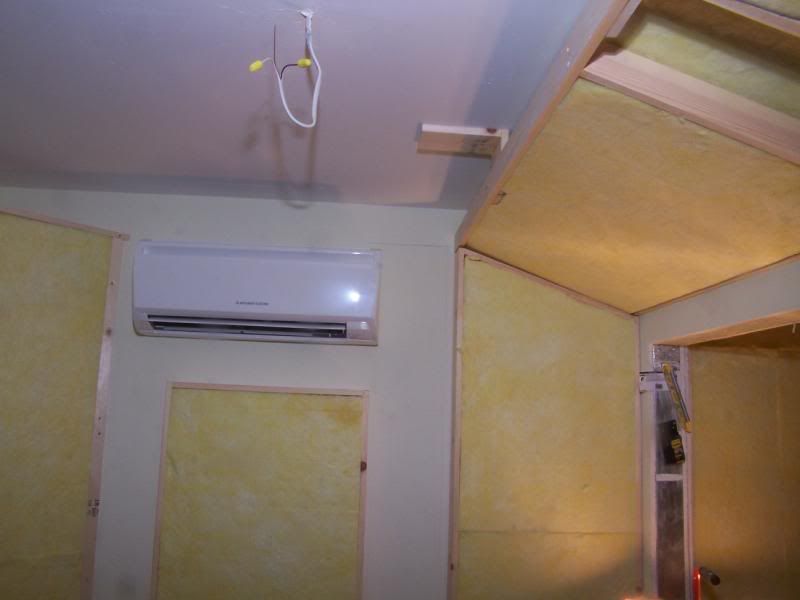
Old leaky and drafty windows let in a lot of noise. If air can enter a room though a crack so can noise. This is the very principal of sound:  the vibration or changes in air pressure.  Sometimes I am required to seal/ plug windows off or eliminate them all together to stop the noise.  And it can go as far as requiring construction, to modify the room with the addition of insulation in the walls or added layers of drywall. Caulking along the bottoms of walls at the floor to seal the cracks with a non harding caulk to stop the flow of air and the sound that comes with it. Yes, you'd be amazed at how much sound this simple step will eliminate.  

FACTOID: A one inch hole can let as much noise into a room as an open door.  (Pull that one out at the next Rotary Club meeting)

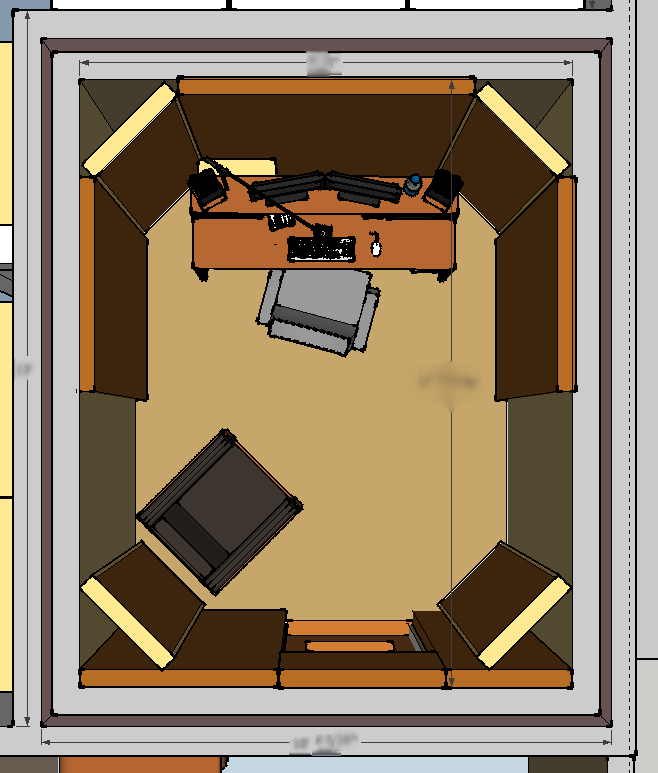
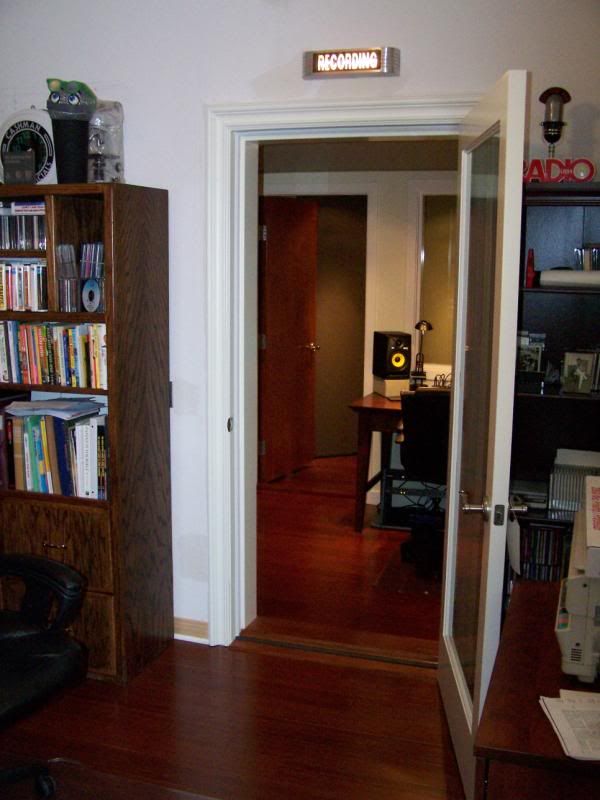
Yeah it can get expensive, but if you live in a noisy area, and you want to be in VO you need to take whatever means required to get yourself to a professional level, in terms of recording excellence. This means you are a single sound source in a room. 

But there are steps you can take to help eliminate and mitigate noise that are not so expensive as major construction. First, listen.  

Listen to your recordings for the buzzes, clicks, and the whirrs of machinery and fans.  Sidebar: [It's best to listen with a good set of headphones. And it's sometimes best to listen to the recording in a different room or sound environment, so the sounds wont be masked by the sound itself. Car interiors are good for this- engine off of course.]

Once you find those pesky noises, eliminate them, banish them from the room and house. 

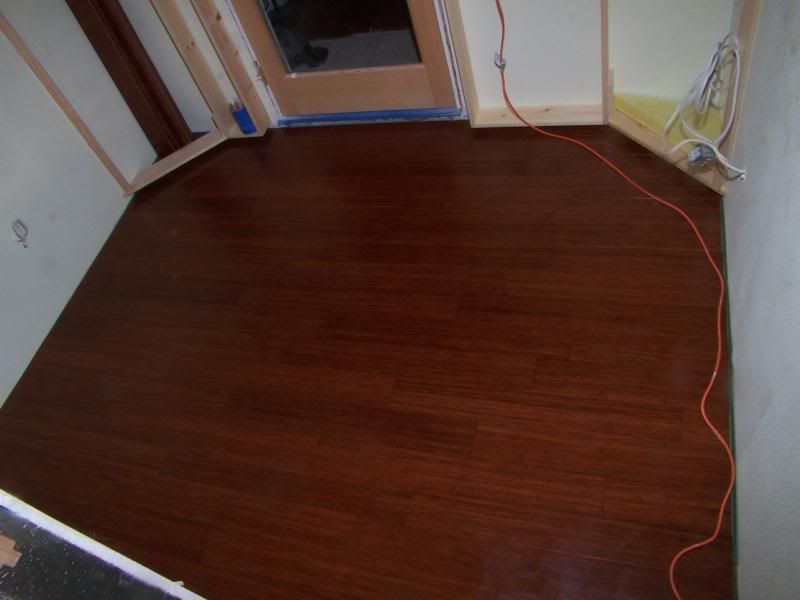
Wood framed homes with wood subfloors can carry noise through the entire structure.   Appliances like refrigerators and dishwashers (both the electric and the domestic kinds) will resonate the floor and the noise will travel throughout  the entire house.  (Wood transfers sound very well, that's why Stradivarius didn't make aluminum violins).  Placing 1/2 inch or thicker, medium density neoprene foam pads under the feet of appliances can reduce sound greatly. ( There needs to be a balance of rigidity and compression. Too hard and the vibration will transfer, too soft and the machine is on the floor again.) 

Noise coming form the outside of the house are the most difficult to mitigate, and often require workarounds, like recording at night, long talks with the neighbors about their kids and dogs  that include bribes of 75 year old scotch, exotic beers, prime cuts of beef and or cash payouts to keep them quiet.  Some have also resorted to tranquilizer  darts, and buying out the ice cream mans entire stock just to keep him off the street.  Trash day becomes paperwork day and gardeners are generally in and out so fast, I can't figure out why anyone pays them. I'm of course half kidding about the solutions, but some have taken extreme measures to deal with outside noise. 

Bottom line if there is a will there is a way.  And the right way is the best way, and the most cost affective.  Find the problem and eliminated it.  If you can't eliminate it bigger steps need to be taken. 

After all you're efforts, you may get to a point were the addition of noise gates can be most effective. But like a sad clown after the circus has burned down,  I frown upon these devices and plugins- their after effects can often be worse than the noise itself.  

This is a process of recording listening, taking action, recording again to see if that sound is eliminated. Then move onto the next sound, until they are all gone. 

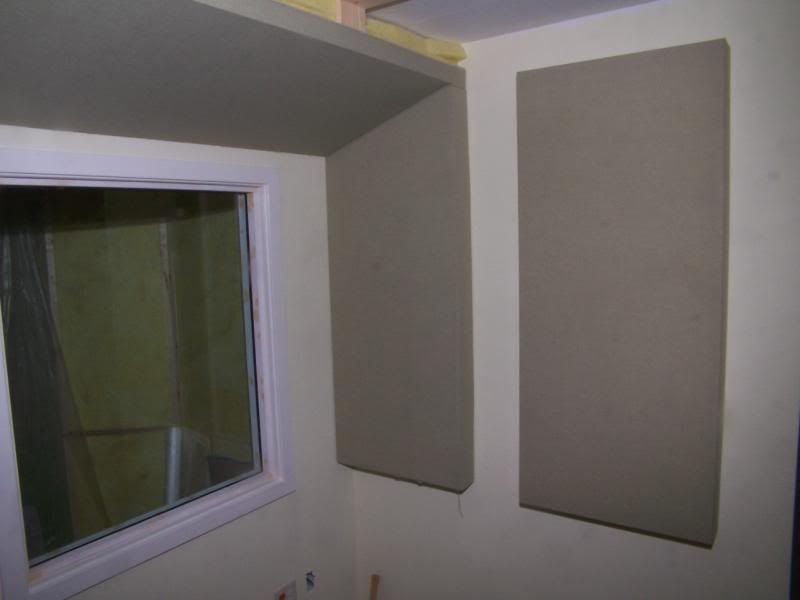
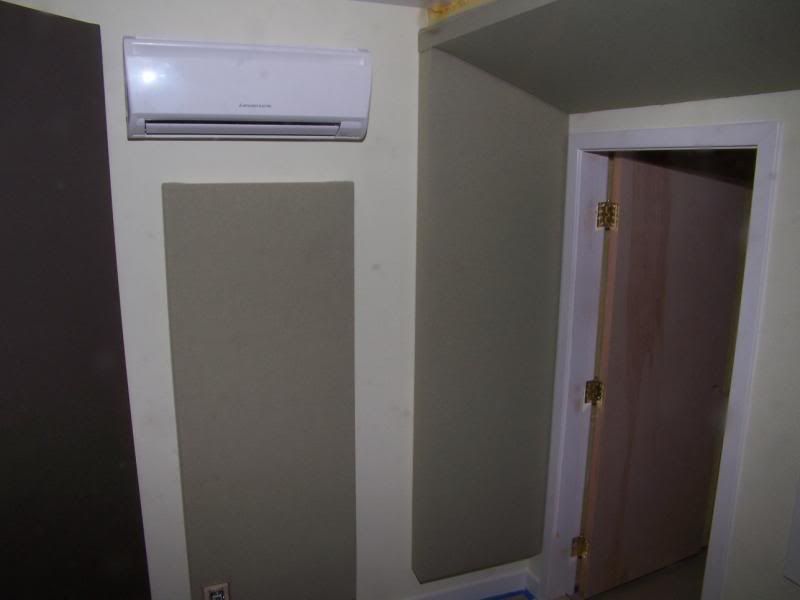
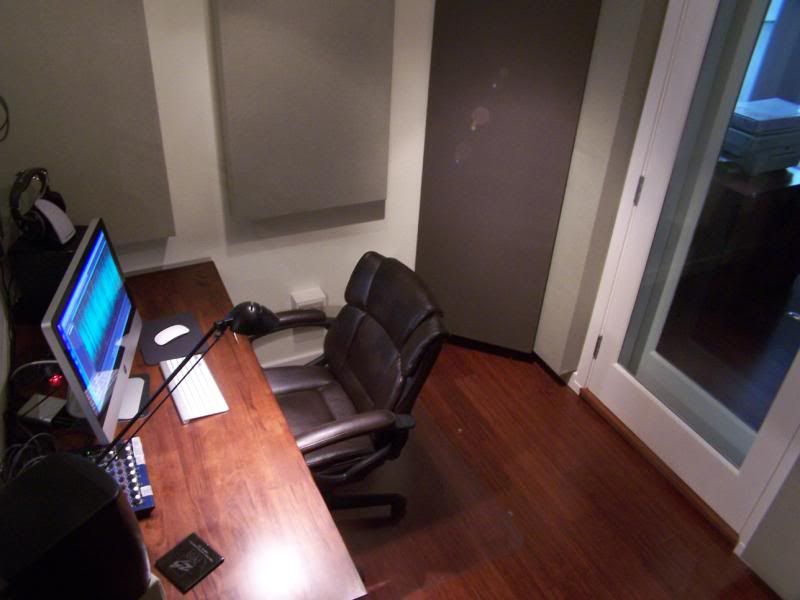
Once the noise is gone, then you can treat the rooms acoustics. and that is another story for another day. 

If anyone needs may studio and acoustic design services, feel free to contact me.


Sunday, July 24, 2011

Studio Monitors

Ok you want to take the plunge and get a set of monitors for your home studio. 

So you run down to your local "Shiny Stuff Center" or "Audio Boutique" and you walk into a room with a wall full of speakers of all shapes and sizes and prices and you begin to spin. In comes the friendly commission hungry salesperson, who normally works in the drum department, who is going to sell you a set of "speakers" as he calls them. 

Studio Monitors (Reference Speakers)- 
When choosing studio monitors for your home studio it's important to know that these monitors are not supposed to provide a rich audio experience, as you would expect from a hi-fi music system. 

Studio monitors are designed to provide an accurate image of whatever sound source you are listening to, so you can hear exactly what is going on in your production. 

When you hear the phrases "flat frequency response" or "uncolored sound", this is what they mean. The speakers tell the "cold hard truth" about your mix. 

Studio monitors are also known as reference speakers, as that is exactly what they should provide. A "reference" sound. And that might be the most important point in choosing studio monitors. How they sound in reference to other sound systems. 
  
Most high-end home "speaker systems" are set up for theoretical flat response in anechoic chambers and other details that impress the hi-fi buffs. And in the real world, most people who are listening (rather than mixing) fiddle with their EQ settings to make the music sound the way they want to hear it. And they rarely sit a three to 5 feet away from both speakers at once as we generally do when mixing. 

Near-field monitors are made to reproduce music in your studio in such a way so that when you hear it sounding good, it will sound good on boom boxes, stereo systems, and truck radios too. This is why an important part of mixing is to test and learn how the sound transfers or translates to other systems- so really get to know your speakers. Believe me, this has great impact on the end result of your mix. 

When you finish a mix, take it and play it on as many different systems that you can; the car, home theater, boom box and the like . Make notes, and understand how what you do in the studio translates on other systems. 

Near-field studio monitors- 
In home recording studios the most common type are Near-field or close-field 
monitors. They are designed to be listened to from about 3 to 5 feet away at with the tweeters, level to your ears. Listening from this distance will make poor room acoustics somewhat less important, but near field refections, comb filtering and room resonance, will effect the sound coming out. Especially if you are siting in a null. 

  
An expression you may come across related to monitoring sound is "sweet spot". This is the spot exactly in the middle between the speakers, where you will hear the full stereo image. It might read in studio monitor descriptions that they have a "large sweet spot". This means that you can move your head around and still be able to hear the full stereo sound. This is also known as a "uniform off-axis response". 
  
Active vs. Passive monitors- 
You also have to choose between active and passive speakers. Active speakers, 
a.k.a.  powered or bi-amplified speakers, have a built in power amplifier inside its casing. 
  
Unpowered/passive monitors do not. Active studio monitors have some advantages over passive ones. They save space, as they don't need that extra amplifier. The amp is matched to the speaker so you don't have to worry about your external amp not matching your speaker frequencies. 
  
 Don't go in thinking you need huge monitors. Most home studios are no bigger then you spare bedroom (about 10x12). For this size room you only need a monitor with a 5.5" base and dome tweeter. 

Also with powered monitors you don't need to worry about matching impedance between the monitors and the amp. 

Buying Monitors- 
You almost have to use published reviews to narrow things down to 2 or 3 
competing systems in your price range, because experienced reviewers have tried the monitors while mixing, whereas any Jo Schmoe with a computer can post "these things sound awesome"...oblivious to whether that sound translates to mixes. Again, the important thing is not do they sound cool, but do they mix well! 

I suggest bringing CDs to the store that you're familiar with, and at least one that "everyone" agrees is well-mixed. Here's a good list: 
Elton John - Goodbye Yellow Brick Road 
The Beatles - White Album 
Red Hot Chili Peppers - Blood Sugar Sex Magik 
The Who - Who's Next 
Traveling Wilburys - Volume 1 

The audio chain should be: CD player, mixer, amp speaker- That's it, no EQ, no processors. 

Assuming that you're listening to monitors that have been well-reviewed for mixing, I'd listen for clarity and shimmer and good bass tones, and I wouldn't want to hear distortion, buzzing, or excess thumping. Make sure you hear good stereo imaging in more than just one tiny "sweet spot"...you don't want to have to keep your head still forever while mixing. Crank it up and turn it down. Good speakers can take the former without flinching (make sure that nothing rattles or buzzes, even at VERY LOUD VOLUMES) and will sound good (although you won't hear everything) at lower volumes too. 

When you hear good monitors, instruments may jump out at you without warning, you may hear subtle things you never heard before, or hair may suddenly grow in strange places on your body. But they won't necessarily make you want to dance, because they don't emphasize frequencies at either end of the spectrum (or the middle, for that matter) the way "listening speakers" tend to do. 

Thursday, July 21, 2011

Voice Over Booth Build

Some time ago Marc Cashman approached me about building him a Voice Over booth for his home. 

His fist idea was to simply purchase a Whisper Room, but with further research on his part, he discovered that the end effect was not worth the cost. It was also not much of a step up from his present booth located in a closet, under the stairs. His wife also wants the the space back.

My original booth design started small, about 6x8 feet, and would be located in his garage, adjacent from his existing office, that would be connected via a double door system. A rough concept was drawn up and a reasonable budget for the structure was estimated.  

The one factor that came into play early on was ventilation. Since Marc does a great deal of long form narration, the ability to remain in the booth for long periods of time was of the upmost importance. His homes HAVC system was located fairly close to the booth with the ability to tap into the return duct just 15 feet away. I surmised that this would a passable alternative, but I also pointed out  that the house would have it's own set of needs and the booth it own, and therefore one would suffer over  the other. Also the cost of taping into the system and isolating the duct work from sound would cost as much as the booth.

These problems were set aside when Marc decided to make the booth as large as possible, within the existing space of the his garage, which was an adjacent signal car port, of a 3 car garage.   This opened up a whole world of possibilities that would allow for better sound, and the use of a stand alone AC system.


After a few weeks of booth design, Marc then decided he would like the idea to be able  to have a director to come in for punching in dialog, or to be able to do one on one coaching  in his booth. So it was decided to divide the space into two, with a  booth on one side and a production area on the other.  

I told him that it would be possible, but the space and sound would suffer, and that I would need a little more room to make it all work. With permission granted a 3rd redesign was started.


The booth is comprised of a standard two leif wall system on the perimeter for Isolation, with double doors and a floating floor.


Unfortunately  I did not get many pictures of some of the detail things that were done, so I've had to use a few pictures out of order to give a general sense of what is going on.  It was a whirlwind of activity durning the first few days of this project.

Here is how the garage started.  


One of the first items to be addressed was the pre existing walls. Since this is a garage the exterior walls were not insulated and the drywall needed to be remove. So instead of throwing  this drywall away we cut the drywall out along the studs and moved it back to the other wall surface, this added mass to the exterior side of the wall which we needed anyway. 

Upon opening the walls we found two surprises. A huge cavity near the front door area of the house, that was unsealed that need a lot of attention and fiberglass if we were to get the noise level under control. And a birds nest of electrical that went everywhere and through the area of where the studio doors were to go. 


The cavity area contained 3 structural walls, and was a bit of a head scratcher as to how to deal with it. We caulked every joint and crack with a non hardening caulk. Then packed the area between the exterior wall and center wall with insulation then drywalled the center wall and sealing every gap and joint. Finally we added another layer of insulation to the cavity.

In this picture we've cleaned up most of the electrical (belive it or not) 


Here we routed the electrical around what will be the door into the booth. 

There was also a bit of electrical that had to be moved for out door lighting and fountains.

Framing for the two leaf structure is if 25ga 3 5/8 metal stud got the walls and and 20ga 2x6 for the hardcap ceiling. Overall framing was completed in about 3 days. Since metal stud is easy to work with I was able to make fine adjustments to the structure, when saw that  we added another foot to the depth of the booth. 


Studs cut out and header and installed for the door.


Because we are in earthquake country we must secure the walls to the cement pad. This lack of floor isolation masks true isolation a little more troublesome, but because we used metal stud resonance should not be much of a problem. 


Our load of fiberglass arrived R13 for the walls and R19 for the ceiling. The EcoBatt material is very nice and fluffy, and almost dust and itch free.  This is just a small portion of the load.


Electrical is pulled and set in place.  All boxes will sit on the face of the walls to reduce noise infiltration.  Metal framing for the door set and insulation starts getting installed in both walls.


We kept a portion of the studio wall open to the garage to be able to move material in and out
until we finally started installing the drywall. 


Drywall time.

 We started skinning the exterior walls with two layers of 5/8" drywall. All of the joints and edges of the first layer are caulked with non hardening caulk. This fills all spaces that could allow air to come into the room.  If air can come into a room so can sound.  
FYI, A one inch hole will allow as much sound into a room as an open door, so it is very important to seal the room completely.  

It was important to get the exterior skinned so that we could use what little area we had for storage. 

Moving on to the booth interior:
The ceiling was started first as always, then the walls.  
We were moving so fast that I hardly had time to get pictures of the first layer.

The second layer of drywall is then hung.  It is best to stager the drywall joints by no less than 12 inches.  I also  caulk the joint between the ceiling and the wall and in the standing corners. These are the areas that need a lot of attention, along with any joints that cross.  

Then it's onto mud & tape, and installing the floating floor.  We had to get the flooring in because the partition wall goes on top of the floating floor. 


The SR flooring goes down with two layers of 1/2" OSB and a plywood deck as the finish sub floor. The joints again are staggered 12 inches, and the edge is caulked.


Framing is installed for the partition wall. Electrical and utilities are run.   The wall is insulated and skinned with drywall, and the taping & mud is finished. 


As you can also see I started testing the acoustics in the booth by just placing batts up along the wall.  I'm very pleased by what I'm hearing.  

AC unit installed and working very well.


The booth not only needs to sound good, it needs to look good too.  When one spends most of their day in one room, one needs to feel comfortable. After the drywall was completed, and doors and window installed it was just a matter of making everything look pretty. 


Installing the ol' Bamboo~

Finalizing wall and ceiling treatment layouts~


Ok. Now that I like the way it sounds, along with some fine tuning, via some coveted secrets, it's time to make it all look pretty.


Got to wire this booth for sound~