
Some time ago Marc Cashman approached me about building him a Voice Over booth for his home.
His fist idea was to simply purchase a Whisper Room, but with further research on his part, he discovered that the end effect was not worth the cost. It was also not much of a step up from his present booth located in a closet, under the stairs. His wife also wants the the space back.
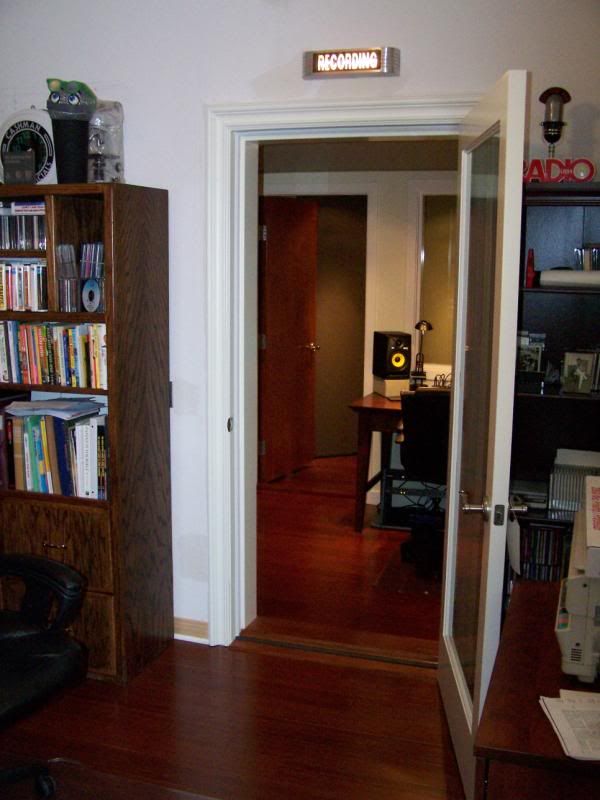
My original booth design started small, about 6x8 feet, and would be located in his garage, adjacent from his existing office, that would be connected via a double door system. A rough concept was drawn up and a reasonable budget for the structure was estimated.
The one factor that came into play early on was ventilation. Since Marc does a great deal of long form narration, the ability to remain in the booth for long periods of time was of the upmost importance. His homes HAVC system was located fairly close to the booth with the ability to tap into the return duct just 15 feet away. I surmised that this would a passable alternative, but I also pointed out that the house would have it's own set of needs and the booth it own, and therefore one would suffer over the other. Also the cost of taping into the system and isolating the duct work from sound would cost as much as the booth.
These problems were set aside when Marc decided to make the booth as large as possible, within the existing space of the his garage, which was an adjacent signal car port, of a 3 car garage. This opened up a whole world of possibilities that would allow for better sound, and the use of a stand alone AC system.
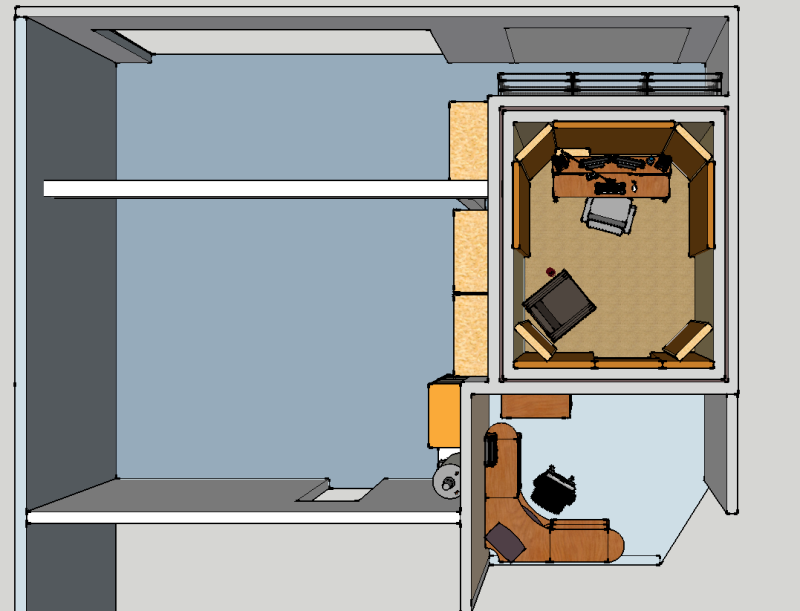

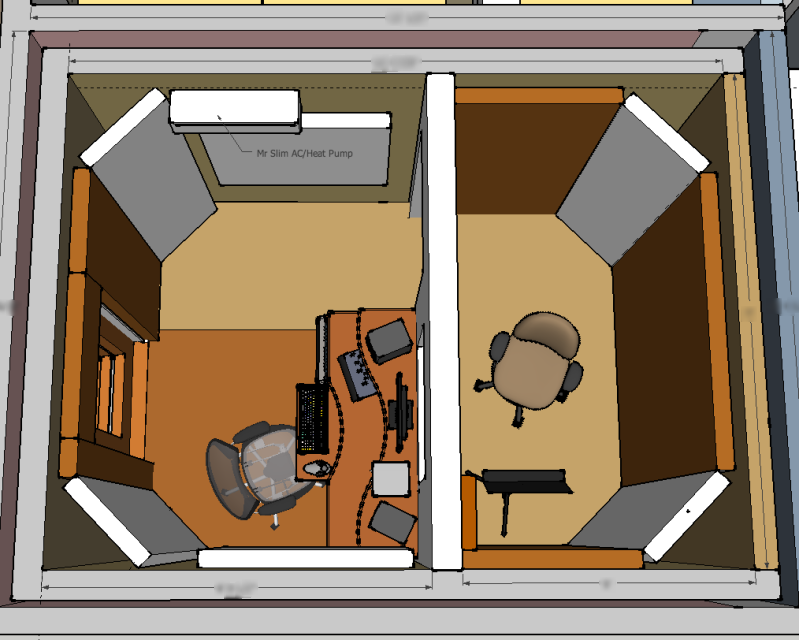
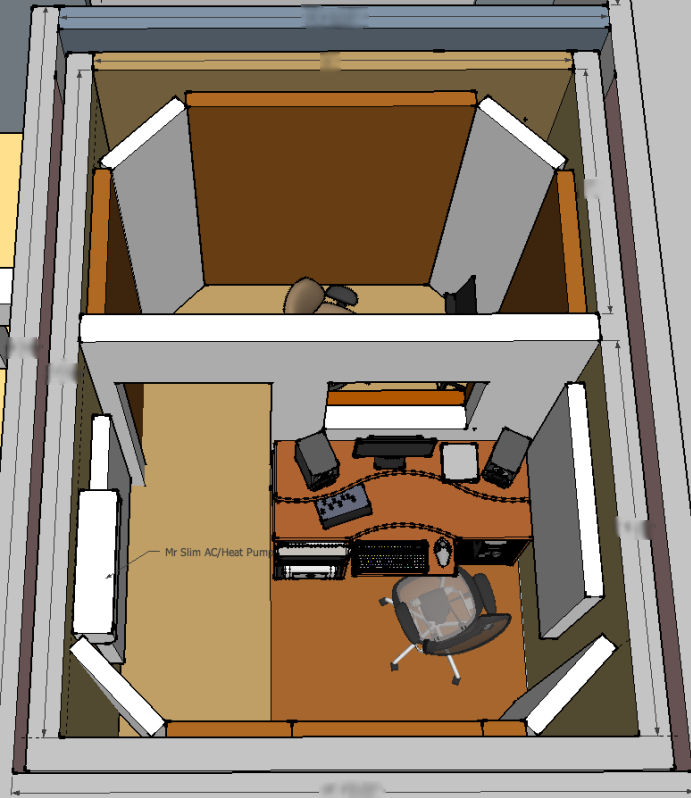
After a few weeks of booth design, Marc then decided he would like the idea to be able to have a director to come in for punching in dialog, or to be able to do one on one coaching in his booth. So it was decided to divide the space into two, with a booth on one side and a production area on the other.
I told him that it would be possible, but the space and sound would suffer, and that I would need a little more room to make it all work. With permission granted a 3rd redesign was started.
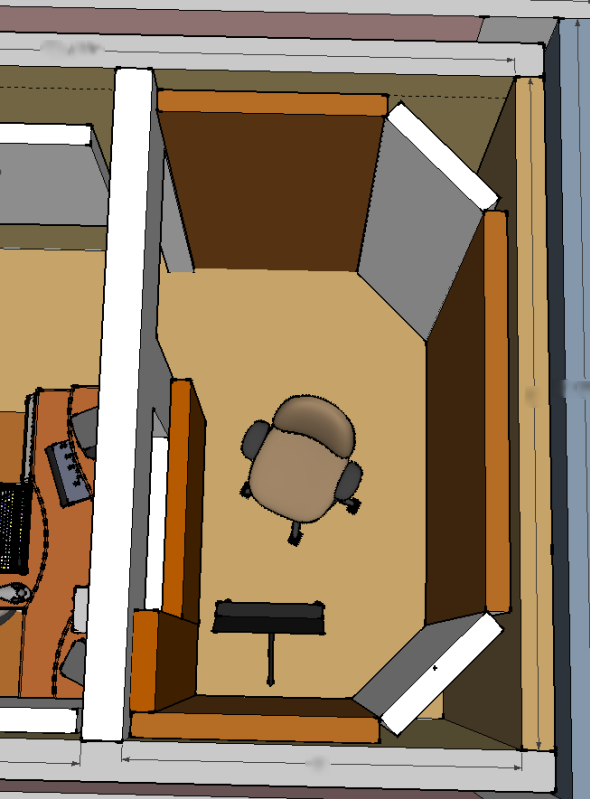
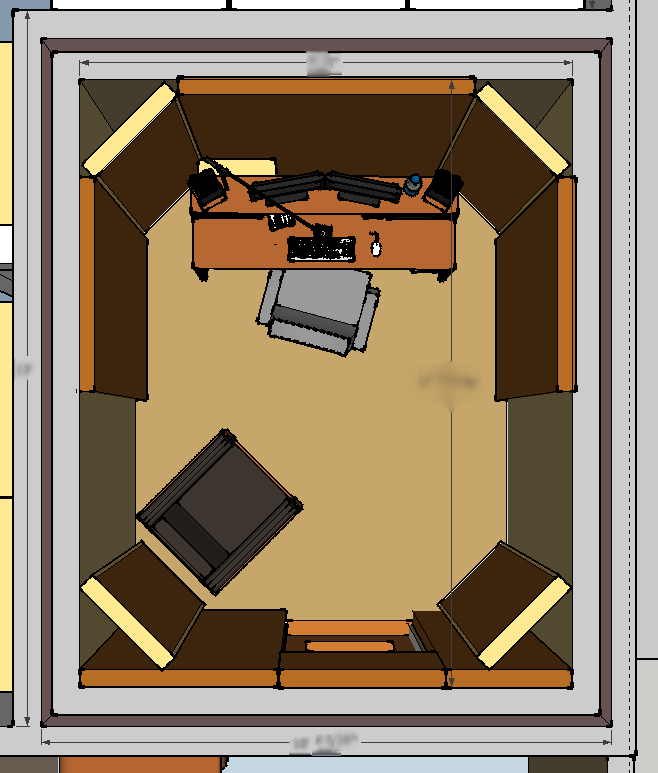
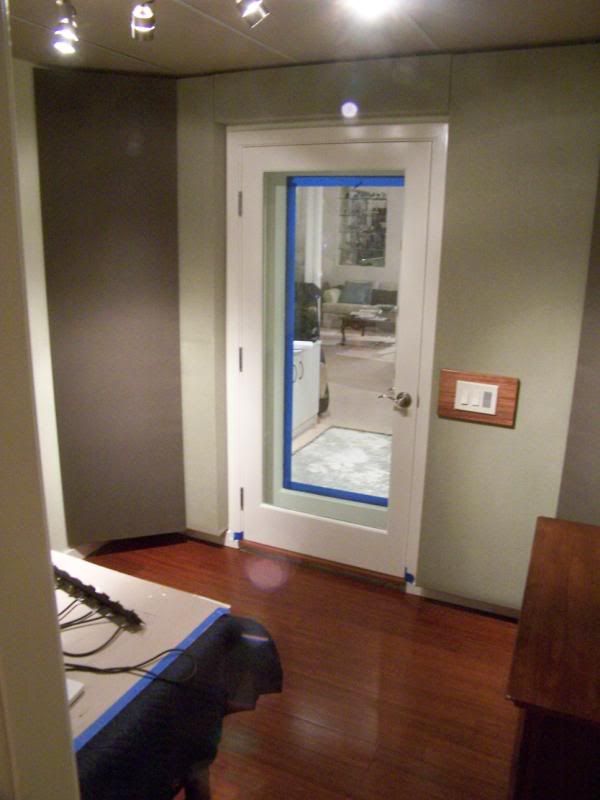
The booth is comprised of a standard two leif wall system on the perimeter for Isolation, with double doors and a floating floor.
Unfortunately I did not get many pictures of some of the detail things that were done, so I've had to use a few pictures out of order to give a general sense of what is going on. It was a whirlwind of activity durning the first few days of this project.
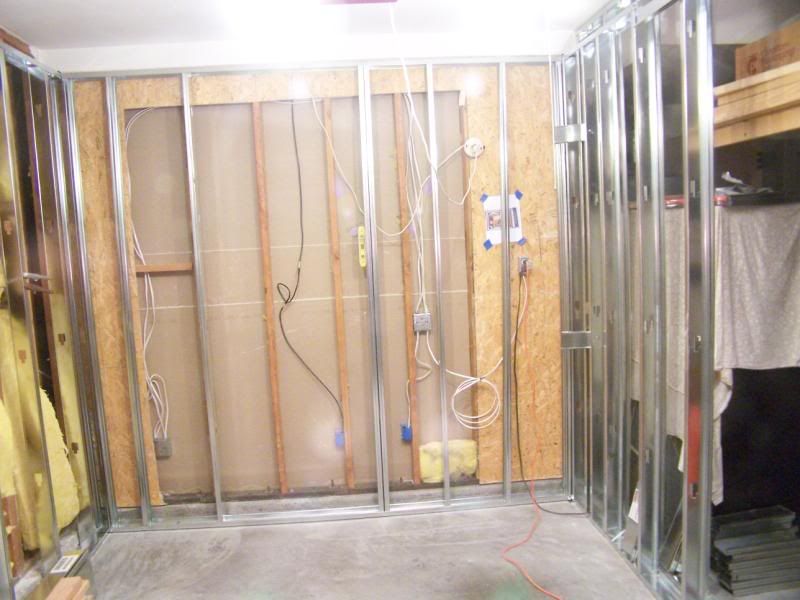
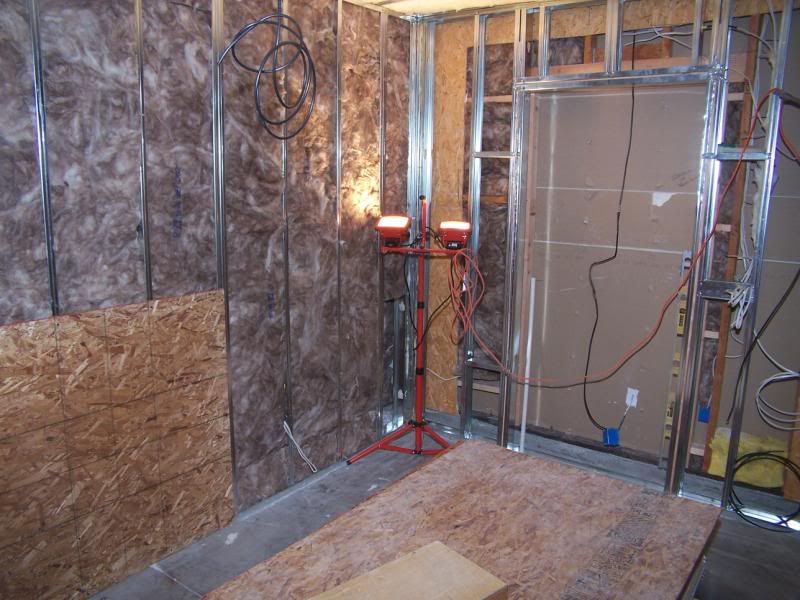
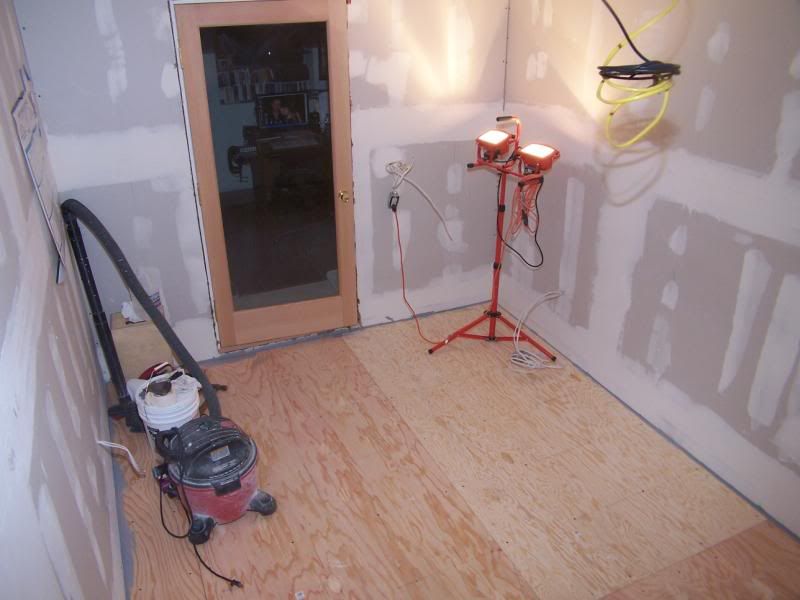
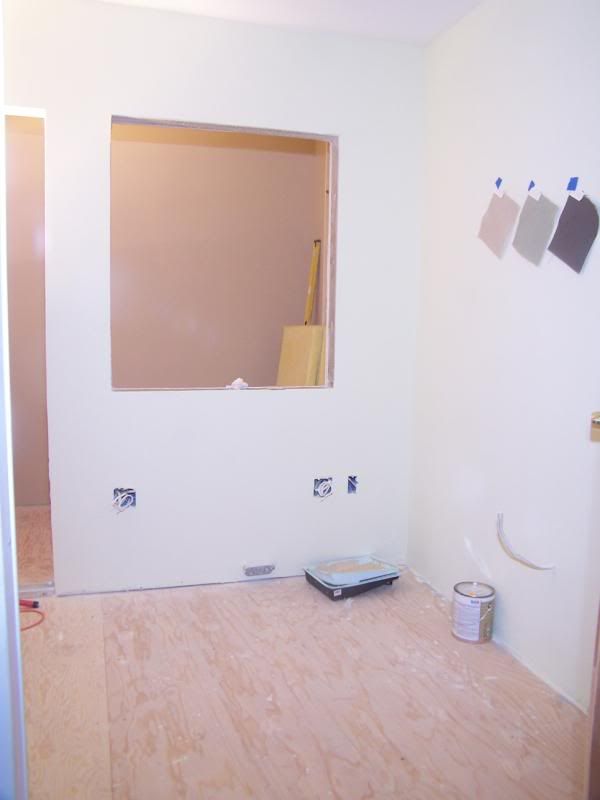
Here is how the garage started.
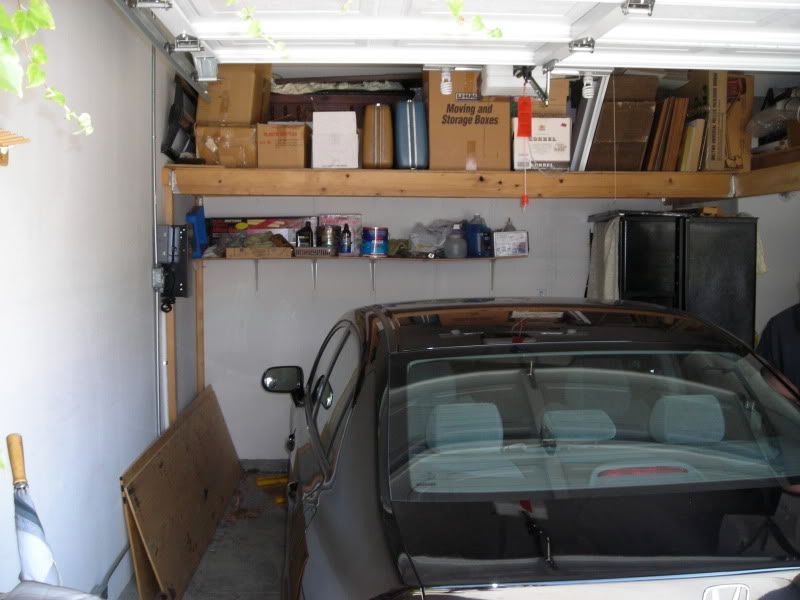
One of the first items to be addressed was the pre existing walls. Since this is a garage the exterior walls were not insulated and the drywall needed to be remove. So instead of throwing this drywall away we cut the drywall out along the studs and moved it back to the other wall surface, this added mass to the exterior side of the wall which we needed anyway.
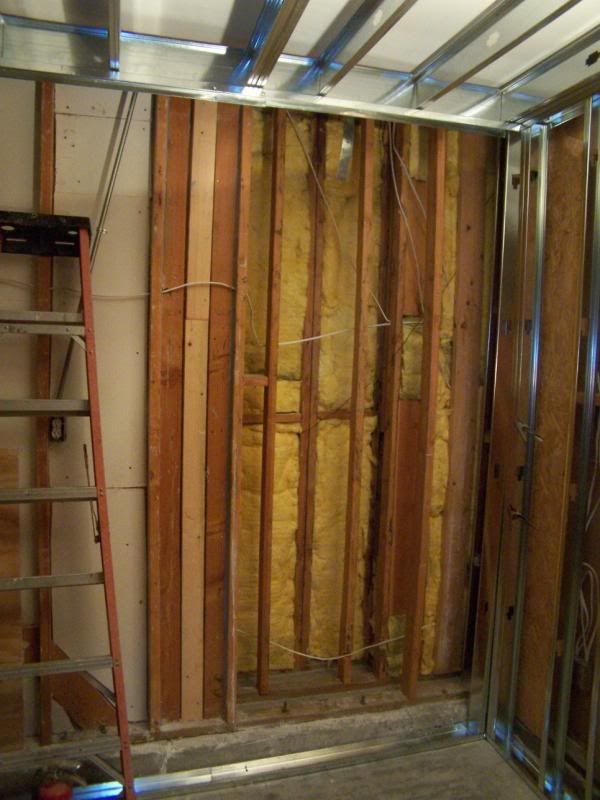
Upon opening the walls we found two surprises. A huge cavity near the front door area of the house, that was unsealed that need a lot of attention and fiberglass if we were to get the noise level under control. And a birds nest of electrical that went everywhere and through the area of where the studio doors were to go.
The cavity area contained 3 structural walls, and was a bit of a head scratcher as to how to deal with it. We caulked every joint and crack with a non hardening caulk. Then packed the area between the exterior wall and center wall with insulation then drywalled the center wall and sealing every gap and joint. Finally we added another layer of insulation to the cavity.
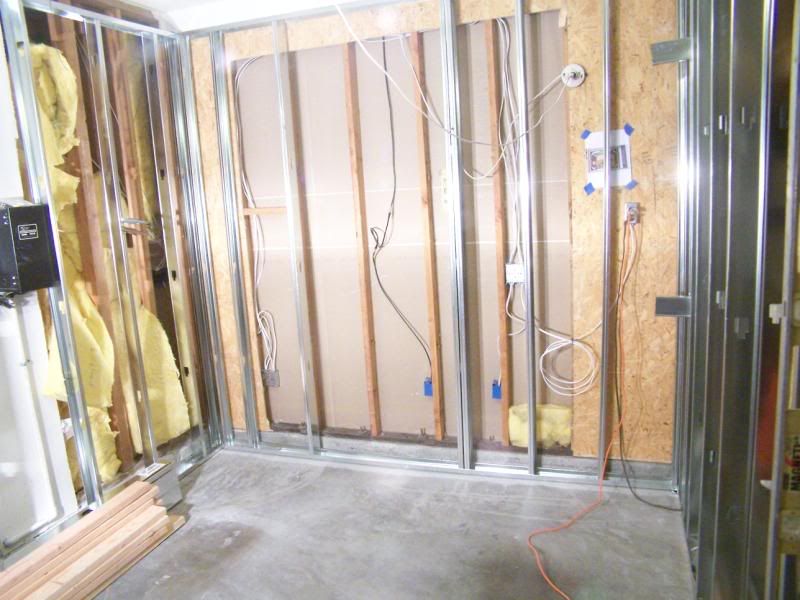
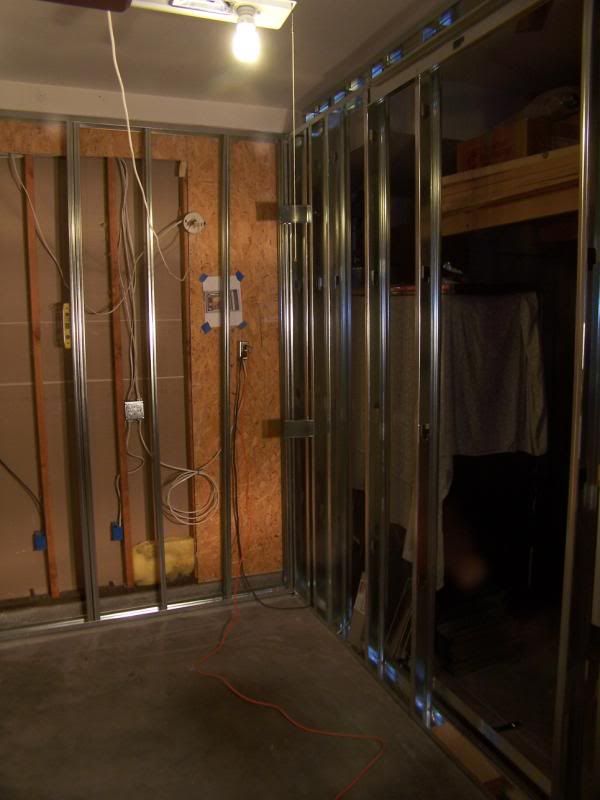
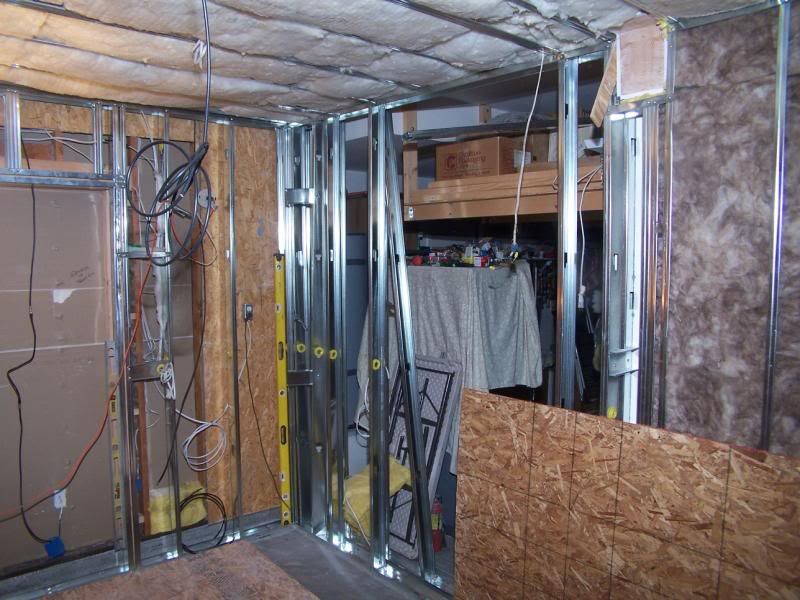
In this picture we've cleaned up most of the electrical (belive it or not)
Here we routed the electrical around what will be the door into the booth.
There was also a bit of electrical that had to be moved for out door lighting and fountains.
Framing for the two leaf structure is if 25ga 3 5/8 metal stud got the walls and and 20ga 2x6 for the hardcap ceiling. Overall framing was completed in about 3 days. Since metal stud is easy to work with I was able to make fine adjustments to the structure, when saw that we added another foot to the depth of the booth.
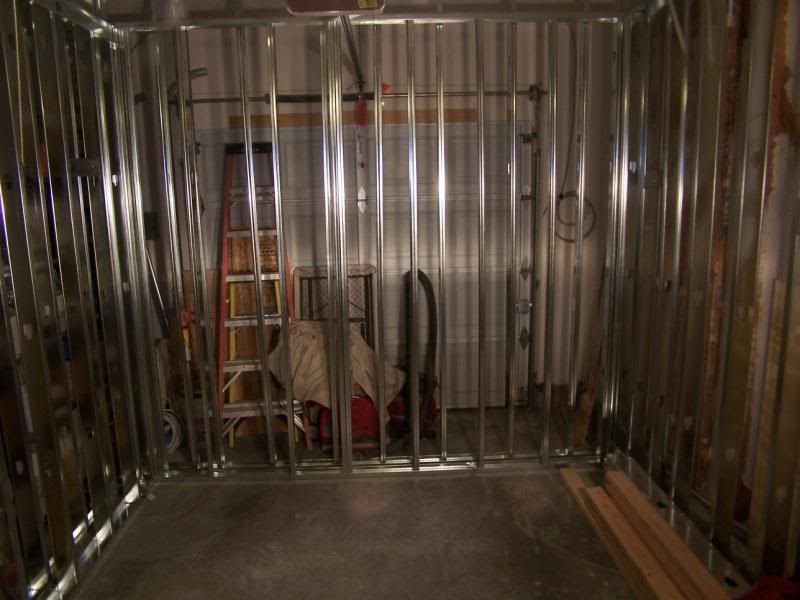

Studs cut out and header and installed for the door.
Because we are in earthquake country we must secure the walls to the cement pad. This lack of floor isolation masks true isolation a little more troublesome, but because we used metal stud resonance should not be much of a problem.
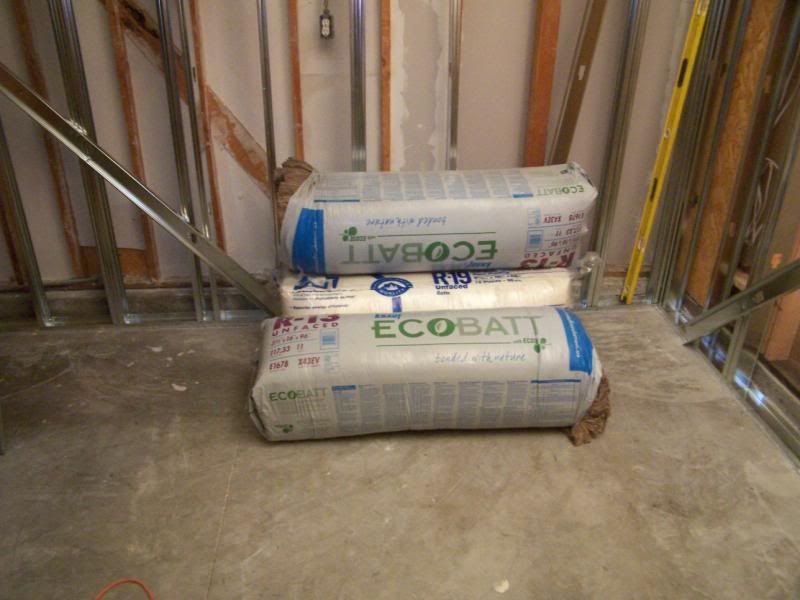
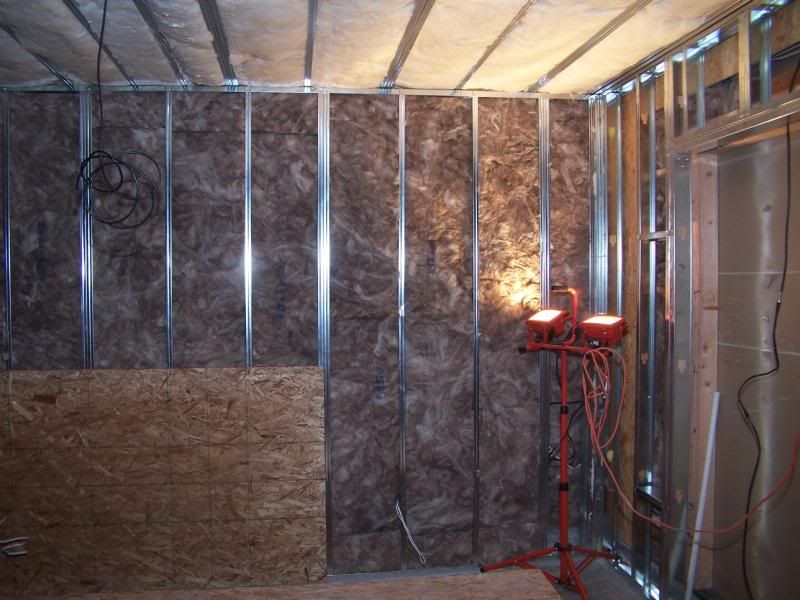
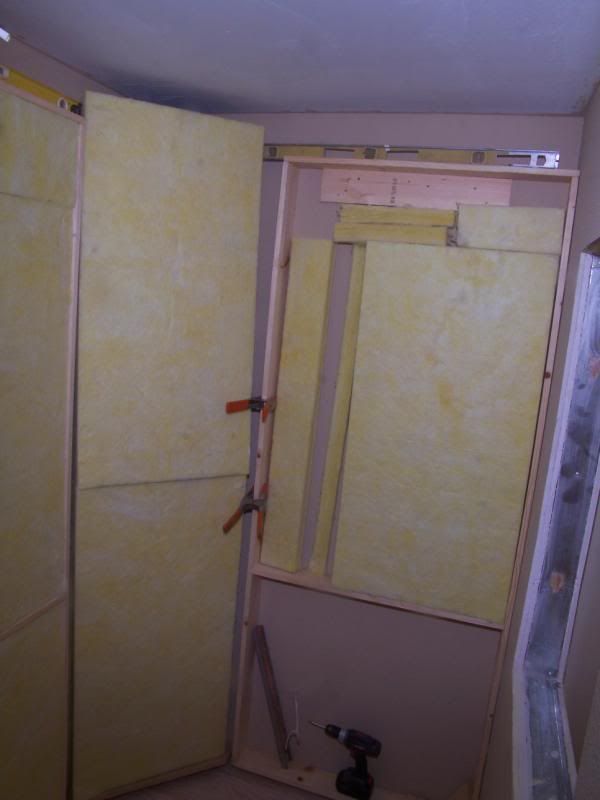
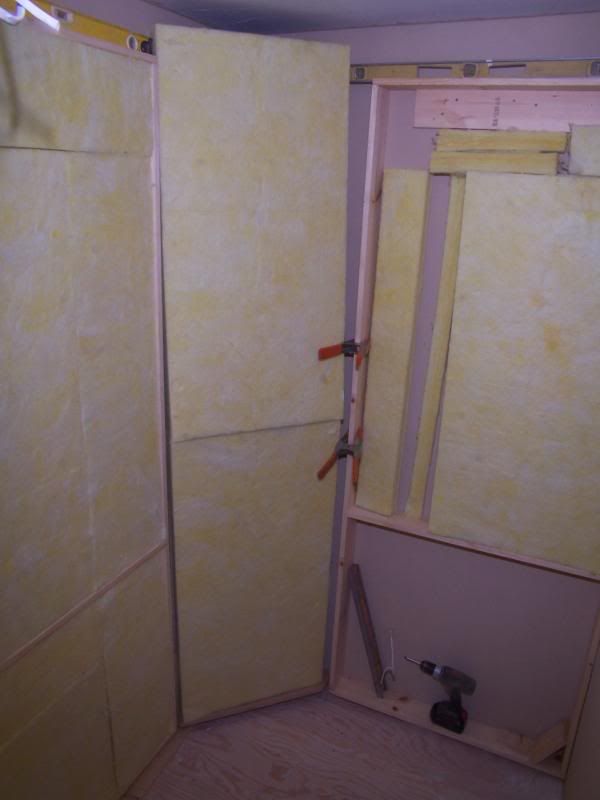
Our load of fiberglass arrived R13 for the walls and R19 for the ceiling. The EcoBatt material is very nice and fluffy, and almost dust and itch free. This is just a small portion of the load.
Electrical is pulled and set in place. All boxes will sit on the face of the walls to reduce noise infiltration. Metal framing for the door set and insulation starts getting installed in both walls.
We kept a portion of the studio wall open to the garage to be able to move material in and out
until we finally started installing the drywall.
Drywall time.
We started skinning the exterior walls with two layers of 5/8" drywall. All of the joints and edges of the first layer are caulked with non hardening caulk. This fills all spaces that could allow air to come into the room. If air can come into a room so can sound.
FYI, A one inch hole will allow as much sound into a room as an open door, so it is very important to seal the room completely.
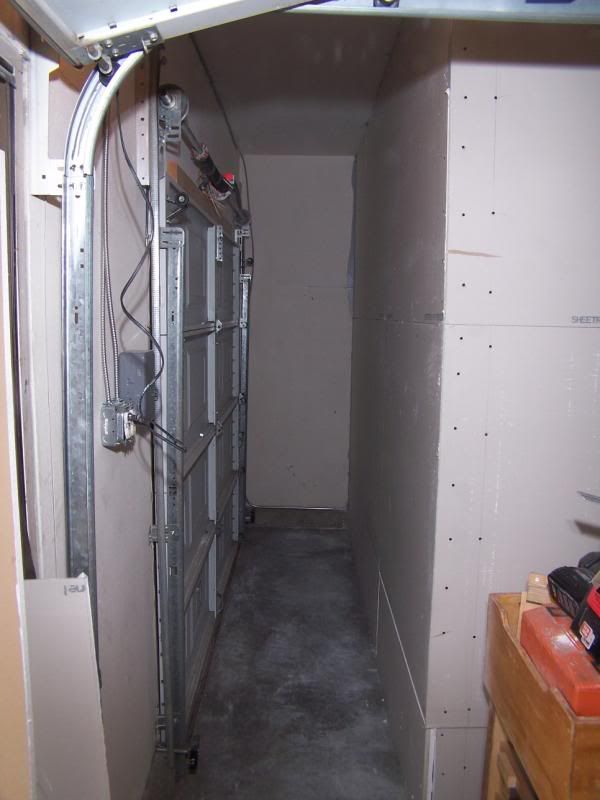
It was important to get the exterior skinned so that we could use what little area we had for storage.
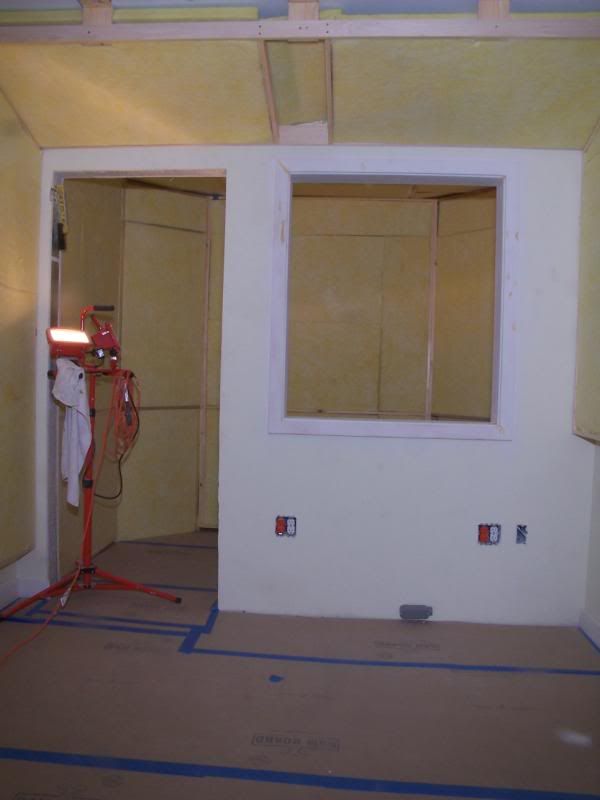
Moving on to the booth interior:
The ceiling was started first as always, then the walls.
We were moving so fast that I hardly had time to get pictures of the first layer.


The second layer of drywall is then hung. It is best to stager the drywall joints by no less than 12 inches. I also caulk the joint between the ceiling and the wall and in the standing corners. These are the areas that need a lot of attention, along with any joints that cross.
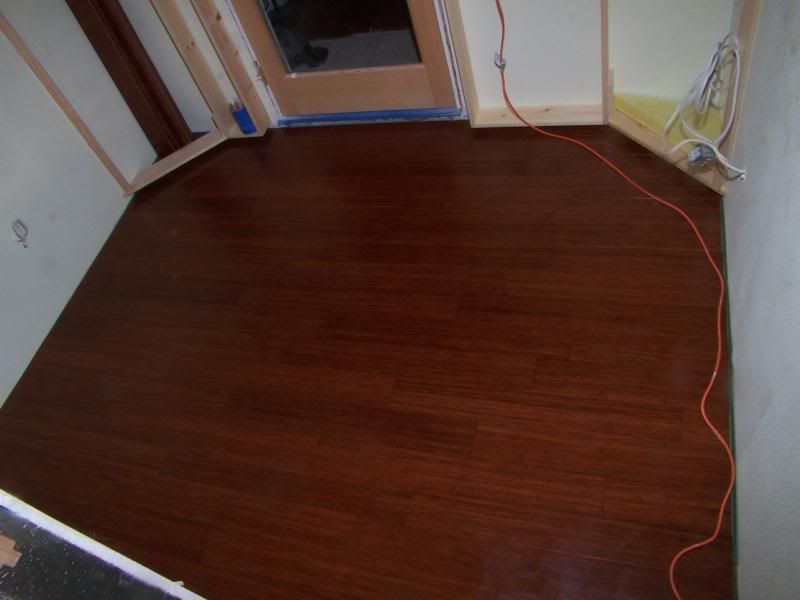
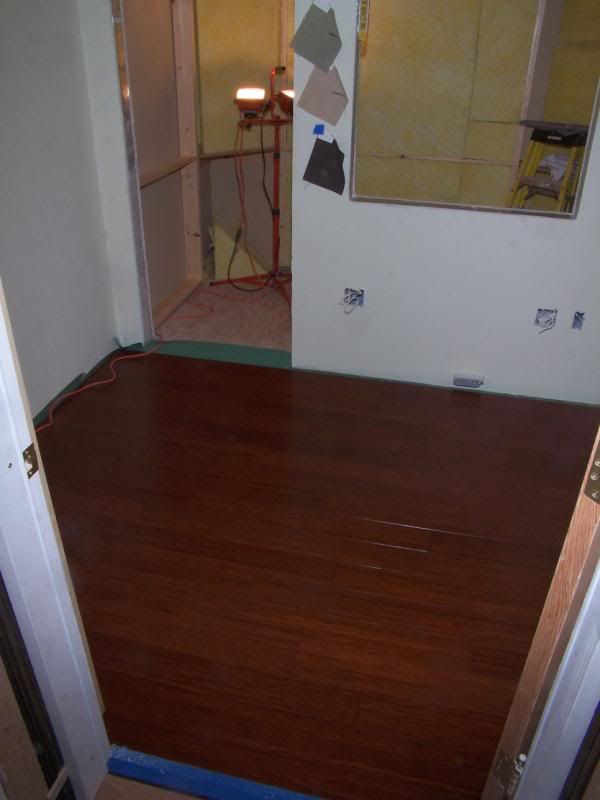
Then it's onto mud & tape, and installing the floating floor. We had to get the flooring in because the partition wall goes on top of the floating floor.
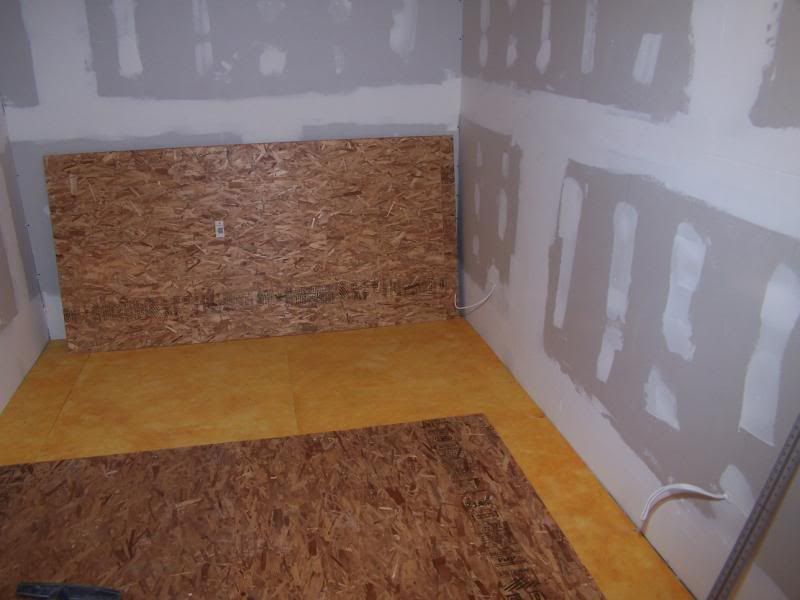

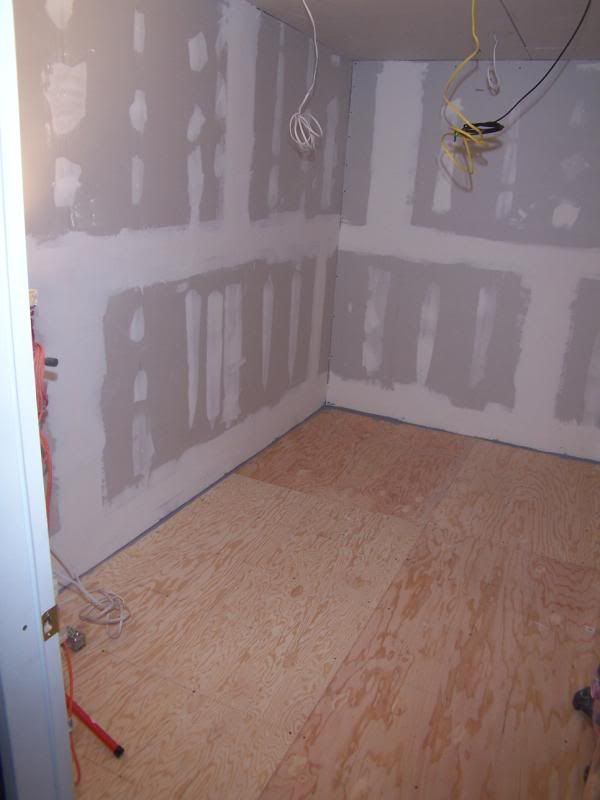
The SR flooring goes down with two layers of 1/2" OSB and a plywood deck as the finish sub floor. The joints again are staggered 12 inches, and the edge is caulked.
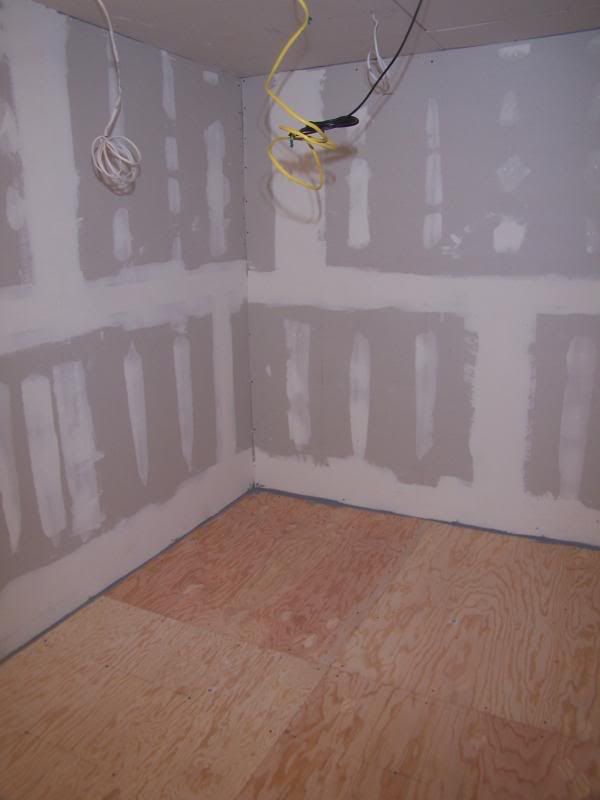
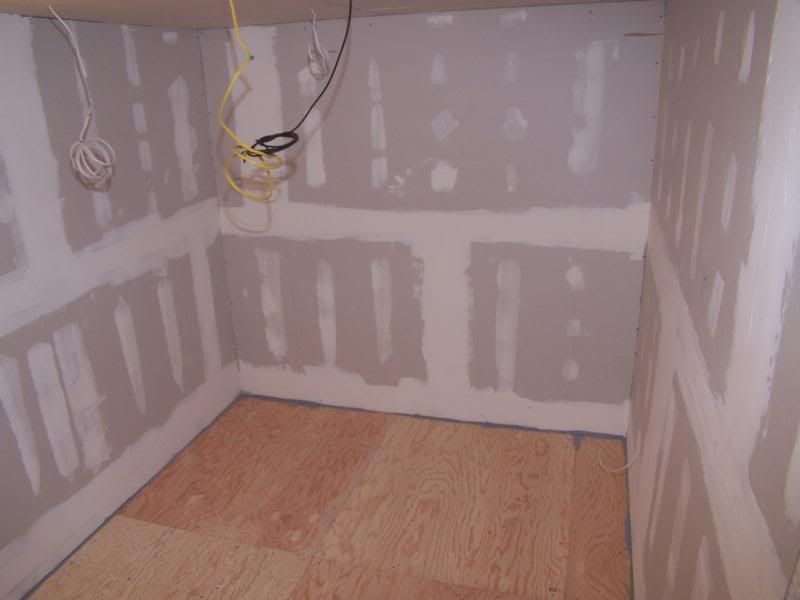
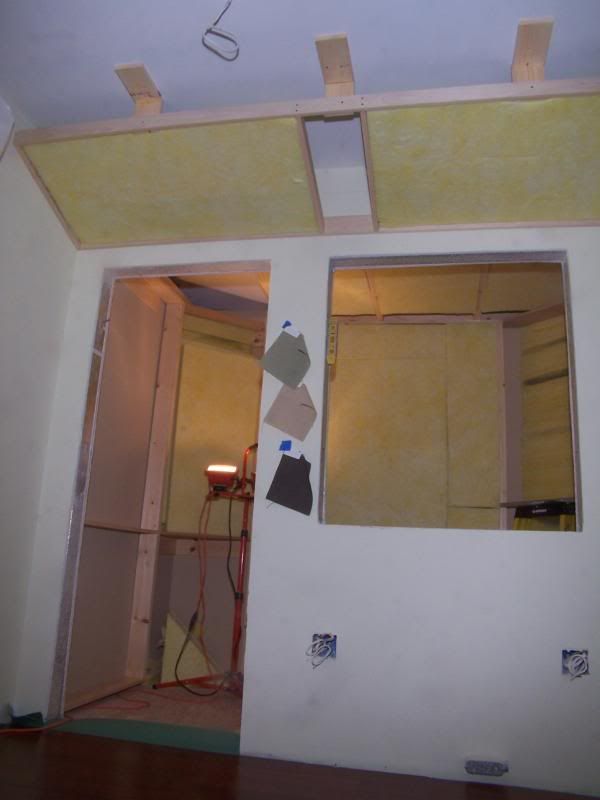
Framing is installed for the partition wall. Electrical and utilities are run. The wall is insulated and skinned with drywall, and the taping & mud is finished.


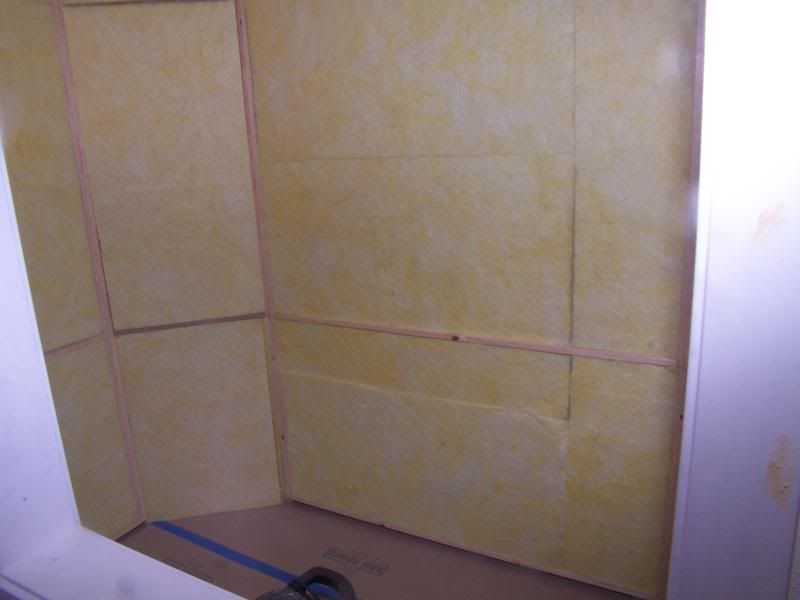
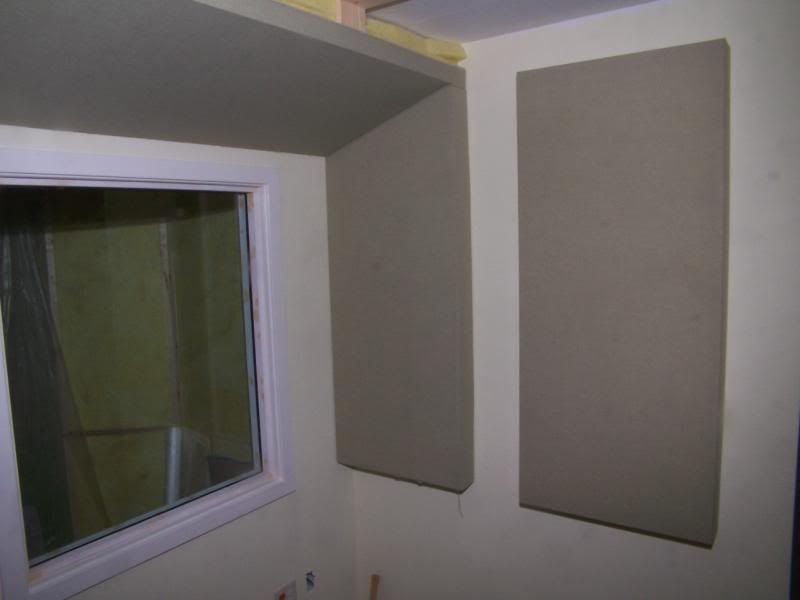
As you can also see I started testing the acoustics in the booth by just placing batts up along the wall. I'm very pleased by what I'm hearing.
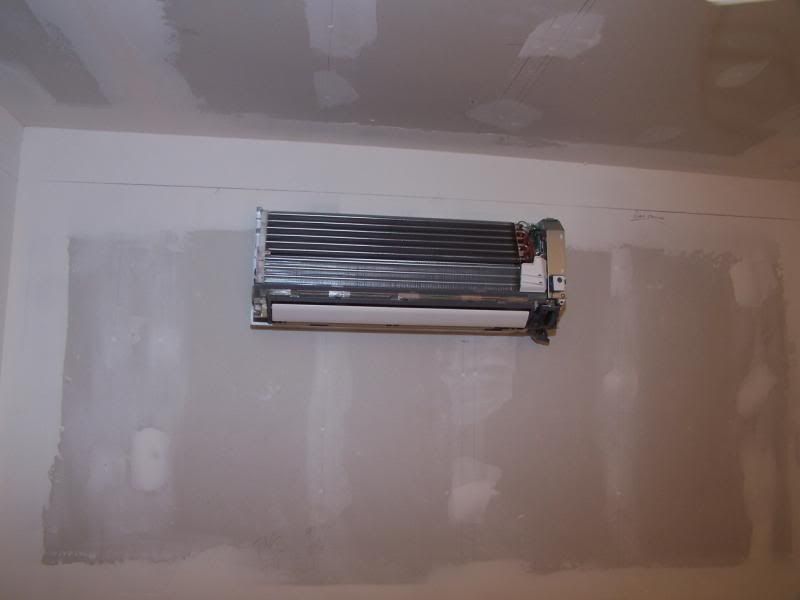
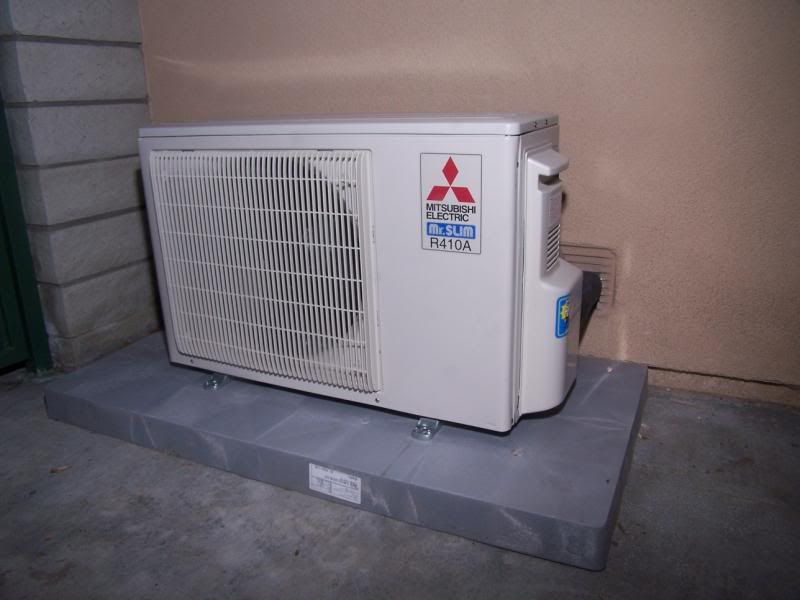
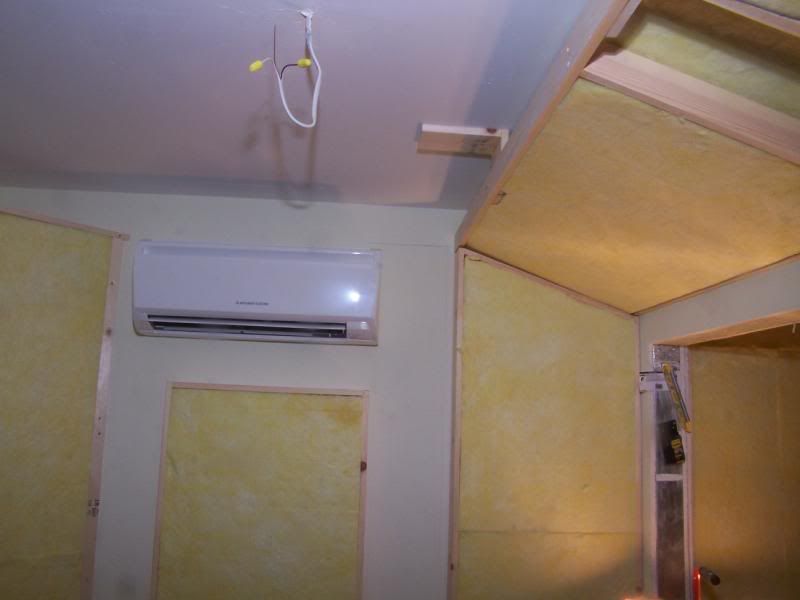
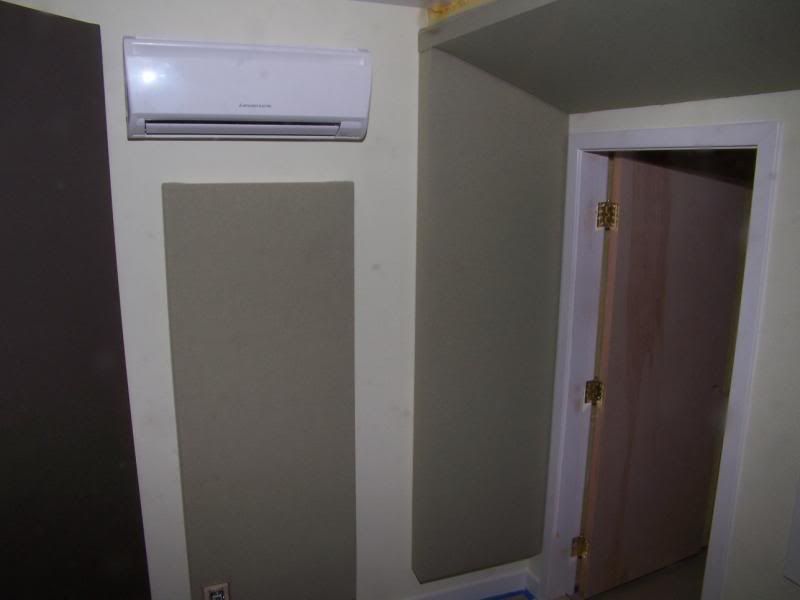
AC unit installed and working very well.
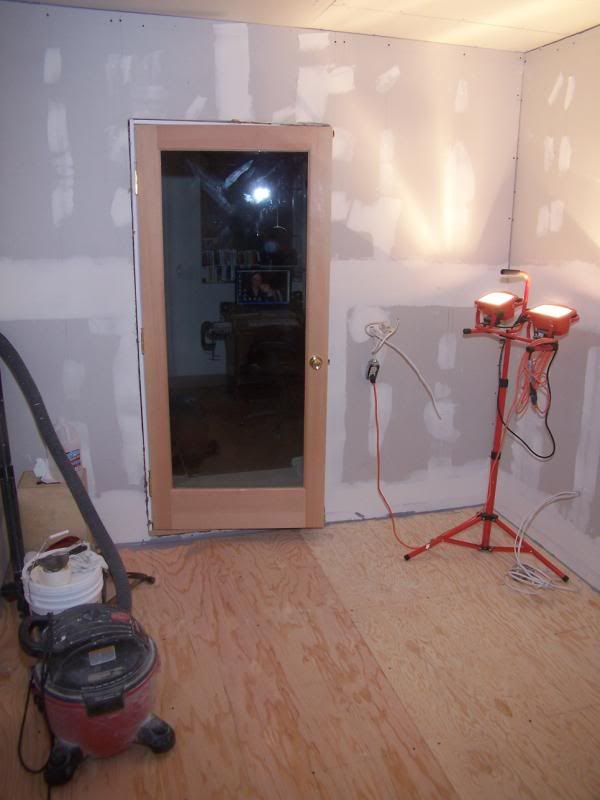
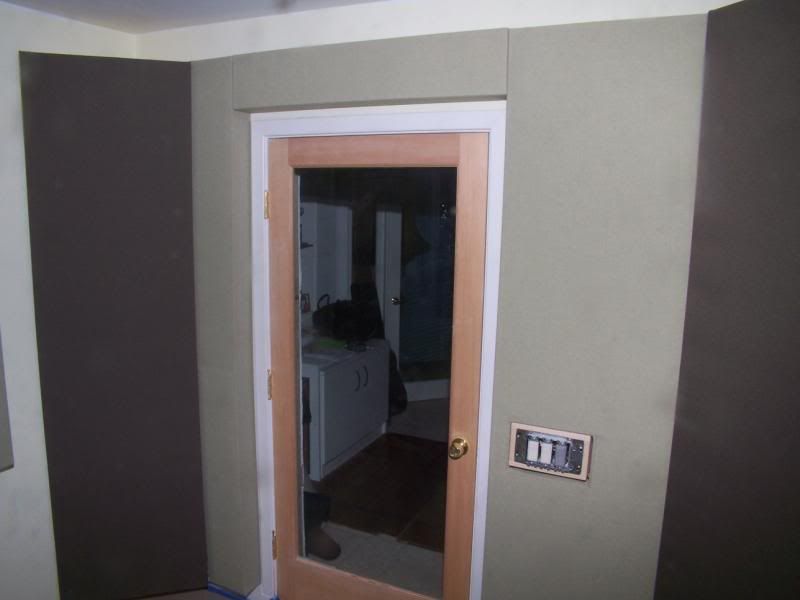
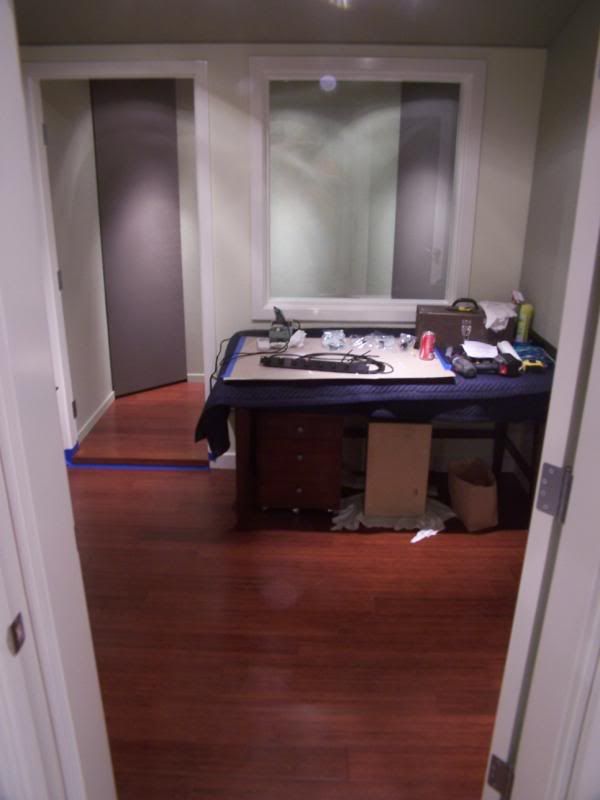
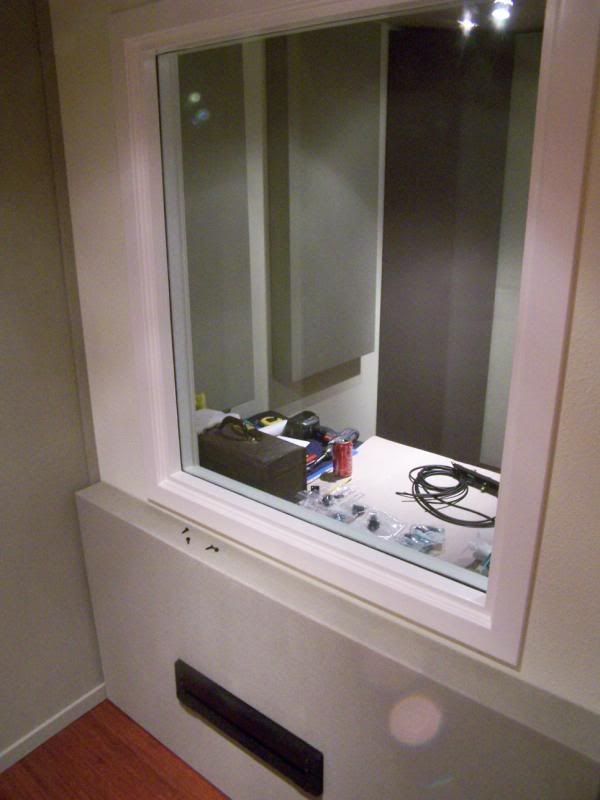
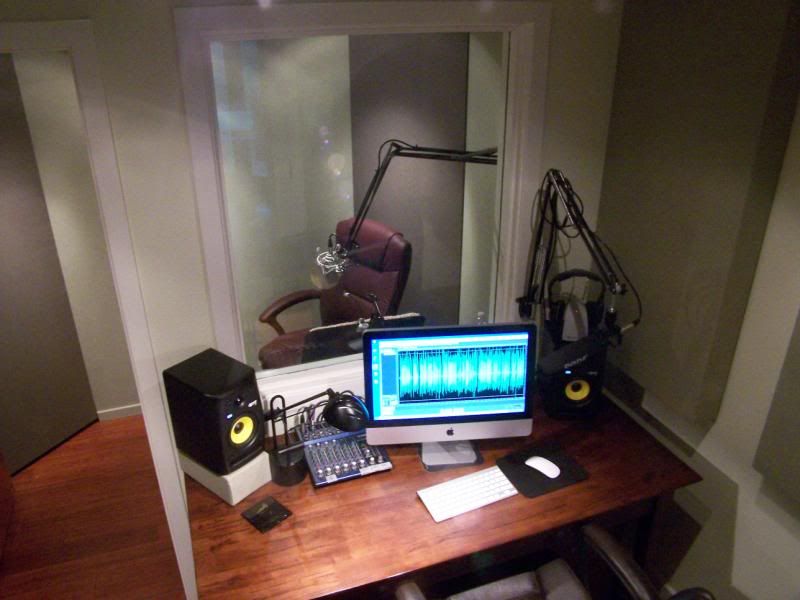
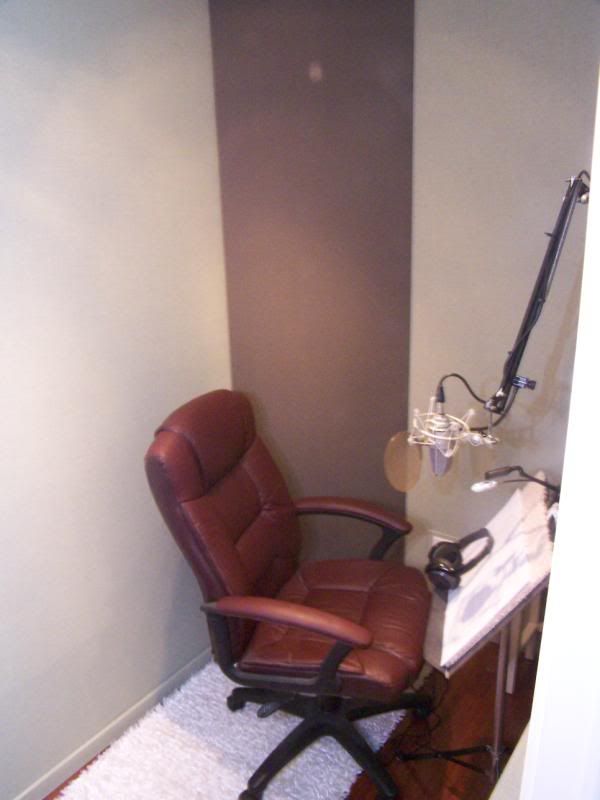
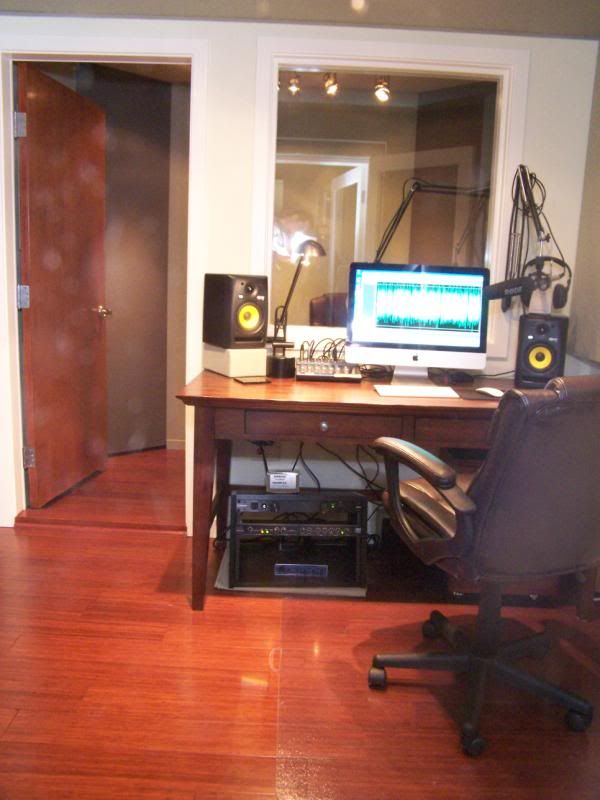
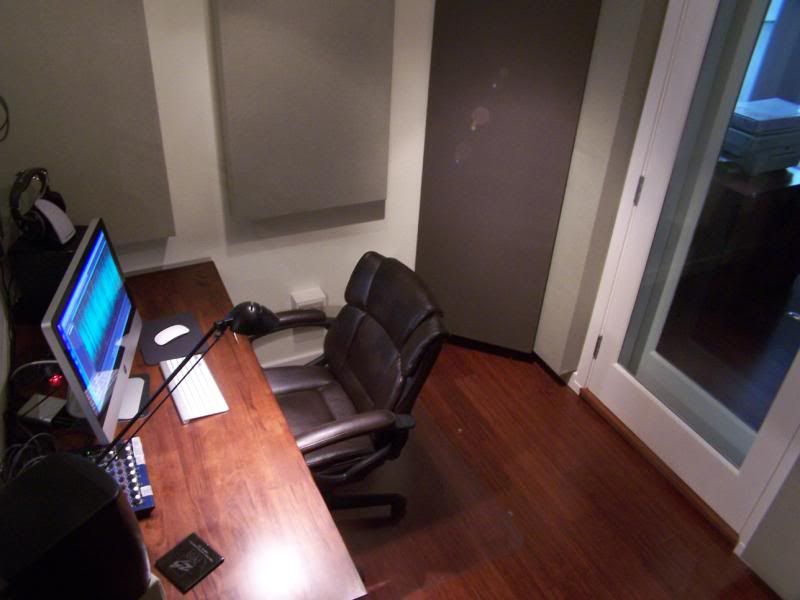
The booth not only needs to sound good, it needs to look good too. When one spends most of their day in one room, one needs to feel comfortable. After the drywall was completed, and doors and window installed it was just a matter of making everything look pretty.

Installing the ol' Bamboo~

Finalizing wall and ceiling treatment layouts~


Ok. Now that I like the way it sounds, along with some fine tuning, via some coveted secrets, it's time to make it all look pretty.


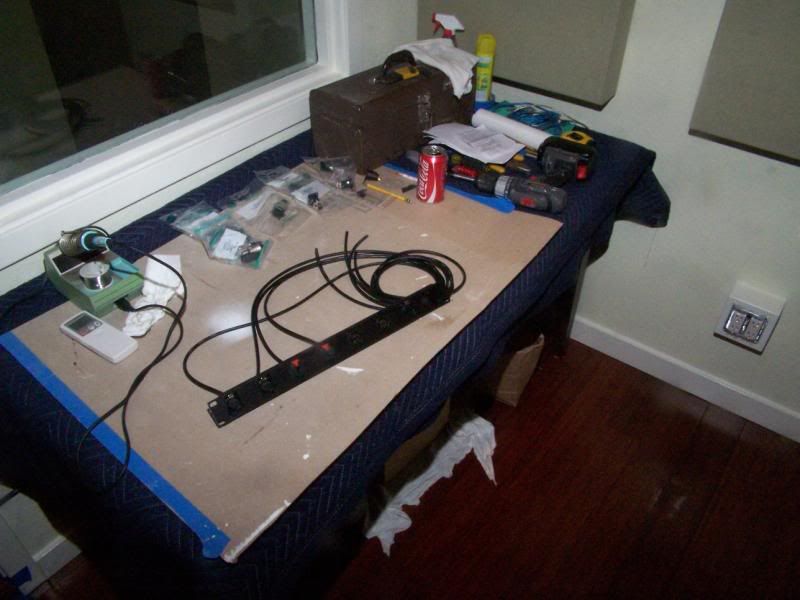
Got to wire this booth for sound~


Beautiful, Mike. How much time and money went into this? A lot, I'm sure, but I'm curious.
ReplyDeleteThanks Dave.
ReplyDeleteAbout as much as a nice new small car.
Incredible. Gives me something to dream about at night...
ReplyDeleteI have seen this whole information and also more images of Voice Over Booth Build. Thanks for share this all information because I think its very useful for all Voice Over artist and people who want to build Voice Over Booth.
ReplyDeleteVoice Over Artist
Valuable info On Voice Over Artist. Lucky me I found your web site by accident, and I am shocked why this accident didn’t happened earlier! I bookmarked it.
ReplyDeleteAwesome. I wish you were still here...
ReplyDelete